Monday, March 30, 2015

Tutorial • Making Belts

In view of the fact that I really don't like indoor photo shoots, and the weather outside has been nasty, I decided to post a little tutorial today in lieu of dress photos.


1 2 3 4
5 6 7 8

Back when I posted my Redo Dress, Sarah A. and Irene asked about my method of sewing keyhole openings and making belts. My mom happened to be making a belt the other day, so it was the perfect opportunity to photograph our method. The keyhole tutorial will be up in a week or two!

First of all, you will need to cut 2 strips of fabric, each one being twice the inside width of your belt, plus 3/8". For this belt, the inside width of the buckle was 7/8", so she cut each strip of fabric 2 1/8" wide.


You also need to cut two strips of interfacing; we use a heavyweight type that is actually for home decor. Be sure to choose a thick enough interfacing, otherwise your belt will tend to fold as you wear it. Cut each strip the actual width of the inside of your belt buckle.
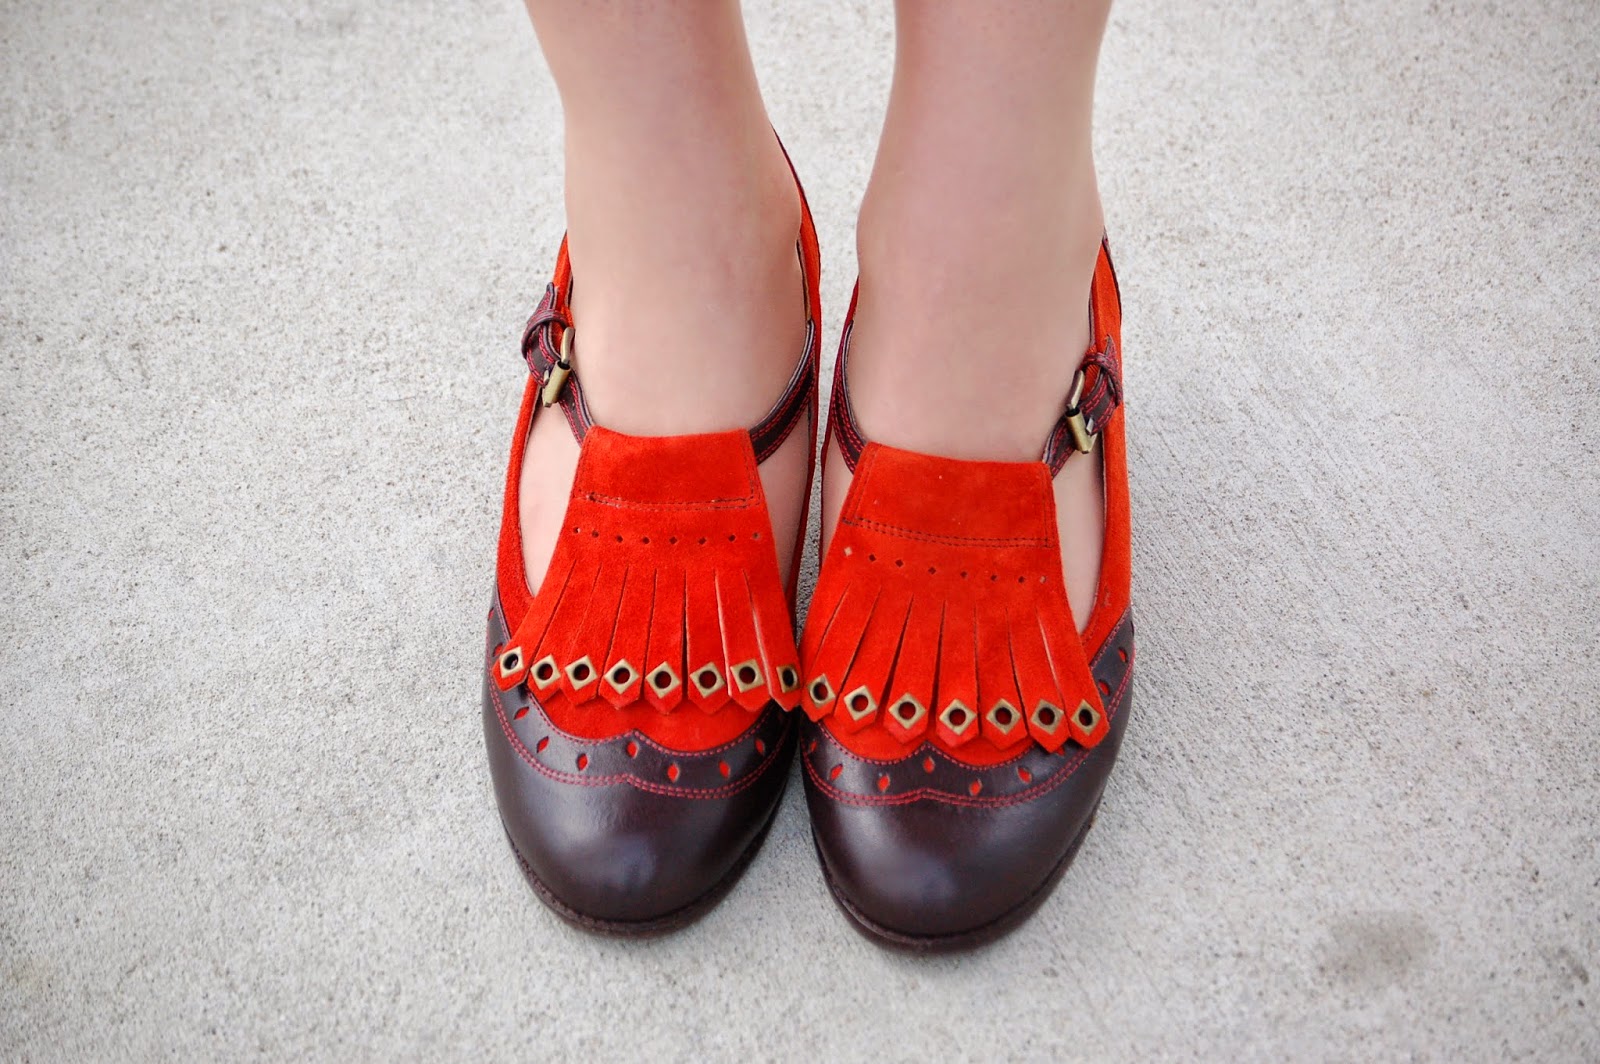
You can also use belting instead of interfacing as I did for my pleated 1950s dress. (See * below second picture).


Fuse the interfacing onto the wrong side of your fabric, making sure that the interfacing is centered on the fabric strip, and that you have at least 1/8" on the end to fold over later.


Once you have fused each strip of interfacing, it is time to form the point of your belt! Mark the center of your interfacing on the point end. Then iron over the end of the strip, as in the picture below. Once the end is folded over, fold each side of the strip over into a point, lining up the edges with your center mark. Press.

*If you are using belting, simply cut your piece of belting the desired length, cutting one end into a point or angle, and follow the directions below for folding the fabric around it. You will then remove the belting from the piece you just ironed and repeat the same techniques with the other half. Then sew it together following these same instructions.


Next, fold over and press the fabric edges. The interfacing edge makes it very easy to fold the fabric over evenly!


Repeat with the other side of the belt.


Once you have pressed both sides of each belt strip, you are ready to sew!


Using a hand sewing needle and thread, blind stitch the point end of the belt together so that it stays perfectly aligned.


Now it's time to sew the belt together! I prefer to use my regular presser foot, but my mom likes to use the zipper foot. Try each one out to see which way is easier for you!
Start sewing at the point of the belt, just 1/8" from the edge. Sew to the end of the belt and repeat with the other edge.


Now that your belt is sewn together, it's time to add the finishing touches! If your buckle has a prong, as this one does, sew (or install) eyelets in the appropriate places, and sew the belt to the buckle. You can also add a belt loop as my mom did.


If you have an ordinary slide buckle, you can either permanently sew the belt to the buckle or use our nifty little buckle-sharing method;


The buckle is slid onto the point end of your belt.


A hook is then sewn onto the point end of the belt, with a corresponding eye (or eyes) on the other end of the belt in the desired places;


Since pretty vintage buckles are rather scarce, this method seems quite sensible as it allows you to share buckles between many different dresses.


The end result!

I apologize for being so long-winded, but with tutorials it is hard to be otherwise! If you have any questions, please let me know!

And as if there aren't already enough photos in this post, here's a couple of sneak peeks of my current projects. :)


I'll be back on Friday with Vol. II of Woman's Home Companion!

• Special thanks to my mom for letting me distract her sewing with my photography! ;) •


Follow Me on Pinterest

Friday, March 27, 2015

Stashbusting • 1940s Belted Blouse


Volume II of the Woman's Home Companion will be up next Friday, but today I needed to post my Historical Sew Monthly project! The challenge for this month is stashbusting, but unfortunately, my stash is not very prolific since I haven't been sewing for years on end! While others have bins full of stashed fabric, I seem to sew almost as much as I buy. I suppose that could be looked at as a good thing to the un-knowing soul, but to a seamstress it is rather unfortunate. I have a feeling the stash will grow to a more wholesome size as the months go by, so I can take comfort in that thought! ;)


As I mentioned in an earlier post, we found some vintage patterns at a recent trek to the antique shop. I just loved the style of this blouse, and was so excited to make it! The pattern is a cinch to make, and the style looks great in these fabrics. There's just one problem; it looks terrible on me.

There is a silver lining to this cloud, however, because it happens to look beautiful on my mom! I was a little disappointed about it at first, but I really don't mind. I've never been able to pull of the belted-blouse look, so it wasn't a great shock. And now, my mom has a new blouse! Yay! :)


I have had both of these fabrics for ages; I bought the blue for a dress, originally, but it was back in the days of my sewing ignorance, so it never came into being. 
Instead, I made a regency apron (which also fits my mom better than me....what's up with that?), a housecleaning/nursery apron, and still had enough leftover to make the accents on this blouse. I love the two fabrics together, and the contrast is just perfect on the blouse.


The pattern features a yoke that is topstitched onto the front and back bodice. I am becoming quite a fan of that method of sewing seams. It's rather nifty, in my opinion!
The back bodice has slight gathers at the shoulders on each side, and the front bodice has a dart extending down from the shoulder. It's a very comfortable, well-fitting design (if it's your style).


As for the skirt; it is a variation of McCall 6993, with a waistband instead of the detailed yoke. Unfortunately, it doesn't fit either. I was still learning about making skirts when I made it last year, so I made it with a couple of inches of ease at the waist. Not a very good idea. At all. If I was diligent and industrious, I would remake it. Ahem.

Apparently I should have titled this post "The Outfit That Doesn't Fit Me"! ;) 

The Challenge: Stashbusting
Fabric: Two coordinating cottons, purchased at JoAnn
Pattern: Vintage Hollywood Pattern 926
Year: 1941-5
Notions: Thread, buttons
How historically accurate is it? Perfectly, aside from the serging on seams
Hours to complete: 5-6
First worn: Around the house last week! 
Total cost: $20


Follow Me on Pinterest

Monday, March 23, 2015

• 1940s Summer Frock •


Although the weather outside is hardly summery, I'm prepared for whenever the warm weather strikes! I just made this dress last weekend, and, well, it is already my favorite. The fabric is so soft, and the design so comfortable, I simply can't help but love it!

As is the case quite often, I intended this fabric for something entirely different; a Regency apron, in fact! I picked it for that purpose simply because it is a neutral that could go with whites, off-whites, or almost any color. However, when I'm on the lookout for my next project, such plans are liable to be changed!


This 1943 Sears catalog photo was the inspiration for my gathered skirt, and I used Butterick 5846 for the bodice, like my green shirtdress.
 Since I only had 3 1/4 yards, I did not have enough fabric to line the yoke, but that turned out to be a good idea anyway because of the generally lightweight nature of the whole dress. It was a bit of a tight squeeze to fit all of the pieces into that small of an amount of fabric, but it worked!


Ordinarily I can't put my finger on a particular favorite dress, but I think that has all just changed. :)


There is a "first" involved in this dress; my first bound buttonholes ever!! My mom was thinking of putting them on a garment she was working on, so we pulled out our 1941 "Sew and Save" magazine to see how it was done. I decided to try making a practice one too, and immediately got hooked! Although they're a little bit time-consuming, I think I've just been converted to them, especially since I haven't had a very good relationship with my sewing machine's buttonhole-making talents of late. And, bound buttonholes are just so....neat!!


Although Butterick 5846 is not a vintage reproduction pattern, I just love the quintessential 1940s styling; the yoke with gathers, the tucks under the bust, the longer length sleeves. It's actually hard resisting the urge to make more dresses exactly like this. Very hard.


Since I was wearing a summery dress, I decided to wear a very summery sun hat as well! Strangely enough, in rummaging around for a suitable hat trim, I happened to pull out the sash for my floral regency dress. It ended up being the perfect length, color and size to tie onto this hat! It works out quite well since the sash never fit right with the dress anyway. Whatever works, right?!


I am looking forward to wearing my new frock to death this summer! Until then though, I'll just wear sweaters and hope for warmer weather! :)

Follow Me on Pinterest

Friday, March 20, 2015

Excerpts From the Past • 1911 Woman's Home Companion • Vol I


Since Brigid and Cassie went with an early 1900s theme for their Magazine Monday scans, I decided to go with the flow and do the same!
We found this 1911 Woman's Home Companion magazine at an antique store about a month ago, and just couldn't resist it. I knew from that moment that it would be delightful for sharing in my Excerpts From the Past series! The magazine is a little bit rough-looking on the outside - in fact, the previous owner had duct-taped the binding to hold it together. Not very romantic, but quite practical nonetheless! I decided to try my hand at editing it out, and I think it came out fairly well, considering. Between Photoshop, Picasa, and Paint, I was able to make it look a little more like it should. :)

My mom has a knack for finding the most amazing lace collars and antique doo-hickeys, and this jabot is no exception. It's so pretty; I can't wait to see it in action on an Edwardian blouse or dress!
Since the watch is also my mom's (an heirloom from her grandma), I can credit all of today's beautiful photo props to her. 

As there are exactly 97 pages (don't worry, I'm not sharing all of them) in this magazine, I decided to split it up into two separate posts. Today we'll be looking at hand-work, baby clothes, ladies' blouses and skirts. 
Next time it will be mostly dresses!


First off is this whole-page article about general house-keeping helps. Such practical information!! It's hard to imagine such things being printed in a magazine nowadays.


These little girls' hats are too adorable. My favorite is that little sunbonnet (Little House on the Praire, anyone?), but they are all quite irresistible!


How cute are those baby outfits?! I'll say this right now though, my little baby boys aren't going to be wearing dresses. One can take vintage-style dressing too far. ;)


Ahhhh. Dainty summer blouses. I just adore that sailor blouse on the top left. All of the styles are simply delightful, and the very epitome of lady-like clothing. Those hats in the "Flaxon Fabric" ad are just gorgeous as well!


One thing I have never really considered is embroidery on clothing, but it is definitely a good idea for Edwardian garments! It gives them such a beautiful, delicate look. I'm starting to get in a defnite Edwardian-sewing mood, so I may be putting these ideas into action soon!


Those hats....heehee. They're almost hilarious, but yet I like them! They're so girly.


Lastly is this whole page full of gorgeous skirts. I really can't even pick a favorite. They're all too delightful! The buttons and seaming details make them so interesting and beautiful!

I hope you enjoyed this week's Excerpts From the Past! It makes for quite the entertaining read, and even the ads are intriguing!

Also, I want to thank you all for your sweet, lovely comments on my last post!! You are so very kind! :)
Follow Me on Pinterest

Monday, March 16, 2015

• 1950s Redo Dress •


Last March, when I made my very first dress, I was absolutely thrilled with it. I thought that it was pretty much the most beautiful, best-fitting garment anyone had ever made.
Hmmm.
Before long, I started to see its many faults, and decided to take it in a little, hoping that that would fix the problems. It helped with the fit, but the overall design was still the epitome of impracticality. The underneath panel was always shorter than the outer wrap skirt, the dress stuck to itself whenever I would stand up from sitting, and it was pretty uncomfortable in general!

Within the last couple of months, I decided that I would remake it someday.
Someday happened much sooner than I thought! Several weeks back I was between projects and decided that it was time to start remaking the dress.


 I had quite a bit of fabric leftover to work with, besides the parts of the dress itself that I would not use. I started out with the plan of making a simple square-necked bodice. I always loved Stephanie's remake of her wrap dress, so I thought a square neck would be perfect. I used the "fall dress bodice," as I did with my pleated 1950s dress, but cut the neck to be square. I sewed it all together, basted in the sleeves and tried it on. Oh, the horror! The neckline gaped like crazy! I was SO frustrated. I looked up fixes for gaping necklines, and all I could find was either remaking the bodice, putting in little darts, or boning. Well, thank you, but I don't want boning in my dress' neckline!

I was pretty disgusted at that point! Determined not to let this dress get the better of me, I started cutting out yet another front bodice. This time I used the same bodice pattern, but used the neckline of Simplicity 2154. I made the collar slightly bigger to acommodate the way I had already sewn the keyhole, and made the bow and "knot" slightly narrower.
To my great happiness and delight, the end result of the bodice was great. It fit perfectly, and seemed to be the perfect style for the fabric!


Although the skirt of the walk-away dress is a full circle, the waistline of it is cut a little bit wonky to fit the back-to-front-wrapping design. I was a little afraid of how it was going to hang because of that fact, but it worked out perfectly! It is actually slightly fuller in some places than others because of the strange cut, but it isn't noticeable, thankfully. 


I am thrilled to be able to finally use my reddish belt buckle! I bought it ages ago at an antique store, and it never seemed to match anything. It's a darker red, so it always looked dull and boring with my brighter red fabrics. To my immense satisfaction, however, it matches this fabric just right!

Wind.....
One thing that is perhaps slightly irregular is the way I had to hem the dress. That has to be one of the more narrow hems I've ever done! I never make very deep hems, mostly because I already have to lengthen everything I make, so there's not usually enough fabric left for huge hems. The length of this skirt ended up being just long enough to cover the petticoat, so a very narrow hem was in order. 


I hesitate to point it out, but I did make one rather annoying foible on this dress. See the flowers on the skirt aiming upward? Then look at the bodice front - they're all aiming downward! For some ridiculous reason, I never even thought to check if the fabric was a one-way design or not, but by the time I discovered that it was, I had already cut out the pieces. Fortunately, it's a busy enough print that it's not really noticeable. It was a bit of a lesson in paying attention though!


I am absolutely thrilled with my "new" dress! It is very comfortable, thrilling to twirl in, and surprisingly practical (except on windy days...). I'm so thankful for the way it turned out!

Oh, and it matches my shoes(!).

• Photography by my mom •

Follow Me on Pinterest

Friday, March 13, 2015

VSFLO • 1940s Princess Frock


Last week, we went to a couple of antique stores in a nearby town, and in the upstairs (which I didn't even know existed), there was a little cache of vintage sewing patterns! We found 7 kids' patterns, and 5 ladies' patterns. One of the patterns even features some designs for a little boy!
It was a good day!

This particular pattern is a mail-order, with the original envelope included (one cent postage, of course!). The design is a "princess frock" featuring a gathered waist, optional ruffles at the neckline and a sash in the back. The pictures just don't do this little dress justice. It is cuter than...well, anything when you see it in person.


I used the leftover fabric from my green shirtdress, lengthening the dress by about 6". I also omitted the ruffles at the neckline, because it seemed to be quite cute enough without them!

I had always wanted to put these little pearl buttons on this fabric, but there were not enough for my dress. There was the perfect number of them for this little dress, though, so they got to be paired with it after all!


The directions say to face the neckline with bias, but since I had some scraps left, I decided to go ahead and use ordinary facings instead.

It was so fun to put a teeny-tiny zipper in a teeny-tiny dress! The pattern gave the option of either a placket opening with snaps or a zipper. Very easy choice. Any time I can skip sewing on snaps, the happier I am!

It always seems funny to me to read the instructions in a vintage pattern. This particular one had three steps. Make the dress, Make the sleeves, and Finishing, with a few vague instructions under each category. It is so different from today's patterns, which spell out every little detail! When everyone knew how to sew, as women did in that era, I suppose there was no need for very tedious instructions. And to think, I used to complain about the instructions in modern patterns! 


Since I am keeping this dress for my own (Lord willing!) future use, I'm just going to serge the bottom edge and leave it un-hemmed. It seems like a better idea than hemming it to a possibly incorrect length, and having to redo it later on.

I am so glad we found the patterns, because it has really motivated me to start sewing kiddo clothes! I already have the next little outfit planned! :)
Follow Me on Pinterest

Monday, March 9, 2015

• Pleated 1950s Dresses •


Can you imagine? I actually took a break from the 1940s long enough to sew a 1950s dress!
We actually sewed these dresses probably four or five weeks ago, but just got around to wearing them for the first time yesterday.
I have long admired this dress that Lily made. The neckline is so cute, and the skirt is so perfectly twirly! I decided to make my own rendition of it at long last with this fabric. It is a reproduction 1950s fabric, which is available here.


For the bodice, I used what is getting to be our go-to bodice pattern, which we call the "fall dress bodice." It is a combination of Burda 7179 and Simplicity 1459, which I altered the neckline on for this dress.

For the skirt, I did as Lily did, using the front skirt piece from Butterick 5813 for both the front and back. I made the pleats slightly further out on the back than the front. The almost-full-circle makes for some fun twirling! :)


I really wanted some pops of color on the dress, so I opted for red piping. We just *happened* to have some red fabric in the perfect shade, and I was able to cob borrow some cording from Mom to make it.

Just as a side note; I really am no good at piping corners. It seemingly took hours for me to get that neckline to work. There were many tries with no success, but I finally got it to look tolerable. I had no pattern for it, so I was scared to death to clip or trim anything until I knew that it was perfect. I ended up "ending" the piping right before the corners rather than actually continuing around them.


Look. At. My. Shoes.
I still can't believe it. I actually own cute shoes!! I looked, and gazed upon, and wept over Miss L Fire shoes for weeks, lamenting the fact that they did not sell them in my size. I finally emailed them out of frustration, wondering if they would ever make a size 11. They emailed back and said that they do indeed make 11's, but they are only available on the UK site. 
To the UK site I went!  I emailed again several times to clarify the sizing, because the size chart is very confusing. As it turns out, UK size 42 is the same as US 11, contrary to what their size chart says. I was scared to death to order them, but I went ahead and took the plunge, paying an arm and a leg for shipping. They arrived in something like three days! 

I was a little hesitant about the color; I mean, what on earth is bright orange going to match?
What indeed. As it turns out, they match probably half of my outfits! They are a dark enough orange that they can pass for red anytime. Oh, and did I mention that they're real leather?
Needless to say, I absolutely love them. 


My mom had these buttons in the stash (she's had them so long, they probably qualify as vintage!), and they matched perfectly! I love how a little rim of red shows on the front. 

We found this buckle at an antique shop a little while back, and it's proving to be a staple in our belt wardrobe. My mom uses it for a 1940s dress that she just made recently.


I'm so excited to finally have an outfit that matches my hat! This was one of the first hats I ever bought, and I just love it. It has a New York label, but also a label from a local hat shop that used to be in business.


Because I know you were longing to see another picture of my shoes.

And now, for Mom's dress!


A month or two ago, my former piano teacher, who is now just a dear friend gave us a whole box of Workbook magazines from the 1940s through 1960. Every issue has a page that shows patterns you could order. Many of the dresses in them feature lovely-looking asymmetrical closures. Mom liked them so much, she decided to replicate one!


She wanted to use piping on her dress, but the only fabric we had on hand that matched it was an orange knit. There seemed to be no law against knit piping anywhere, however, so she went ahead and used it! It was easy to do corners, but it did tend to stretch when she didn't want it to as well.

She found a jar of buttons a while back at an antique store for only $6. It turned out to be a gold mine. There are multitudes of beautiful buttons, and enough of each kind to actually use on garments! These cute little orange buttons were some of them, and ended up matching perfectly.


She used the same skirt pattern and bodice pattern as my dress, but altered the neckline and front closure to suit her design. The bodice and sleeves are lined with batiste.

Isn't that buckle beautiful? And the color makes it match virtually everything.


One feature of our "fall dress bodice" is easing at the back shoulder seams. It makes for a really comfortable fit while also being fitted at the shoulders. 

The sleeves on both of our dresses are from Simplicity 1459, lengthened a couple of inches.

I love her hat.
~
I'll be back on Friday with an incredibly adorable baby dress that I sewed Saturday. It is just too cute, in my opinion, but I'll let you judge that for yourself. :)

• Photography by both of us! •


Follow Me on Pinterest