Thursday, July 25, 2013

I Made That! Thursday Link Party #2

Welcome back to the 2nd I Made That! Thursday Link Party! Thank you so much to everyone who linked up! I really appreciate it, especially since this is a new link party.
I haven't been doing a whole lot of crafts - still busy working on the sewing room redo. Hopefully that'll all be done soon and I'll have some pictures for you! 


Tricolor Chevron Tutorial by Nest Full of Eggs
I am IN LOVE with chevron, so this one was a hands-down winner with me. Great job Rachel!!

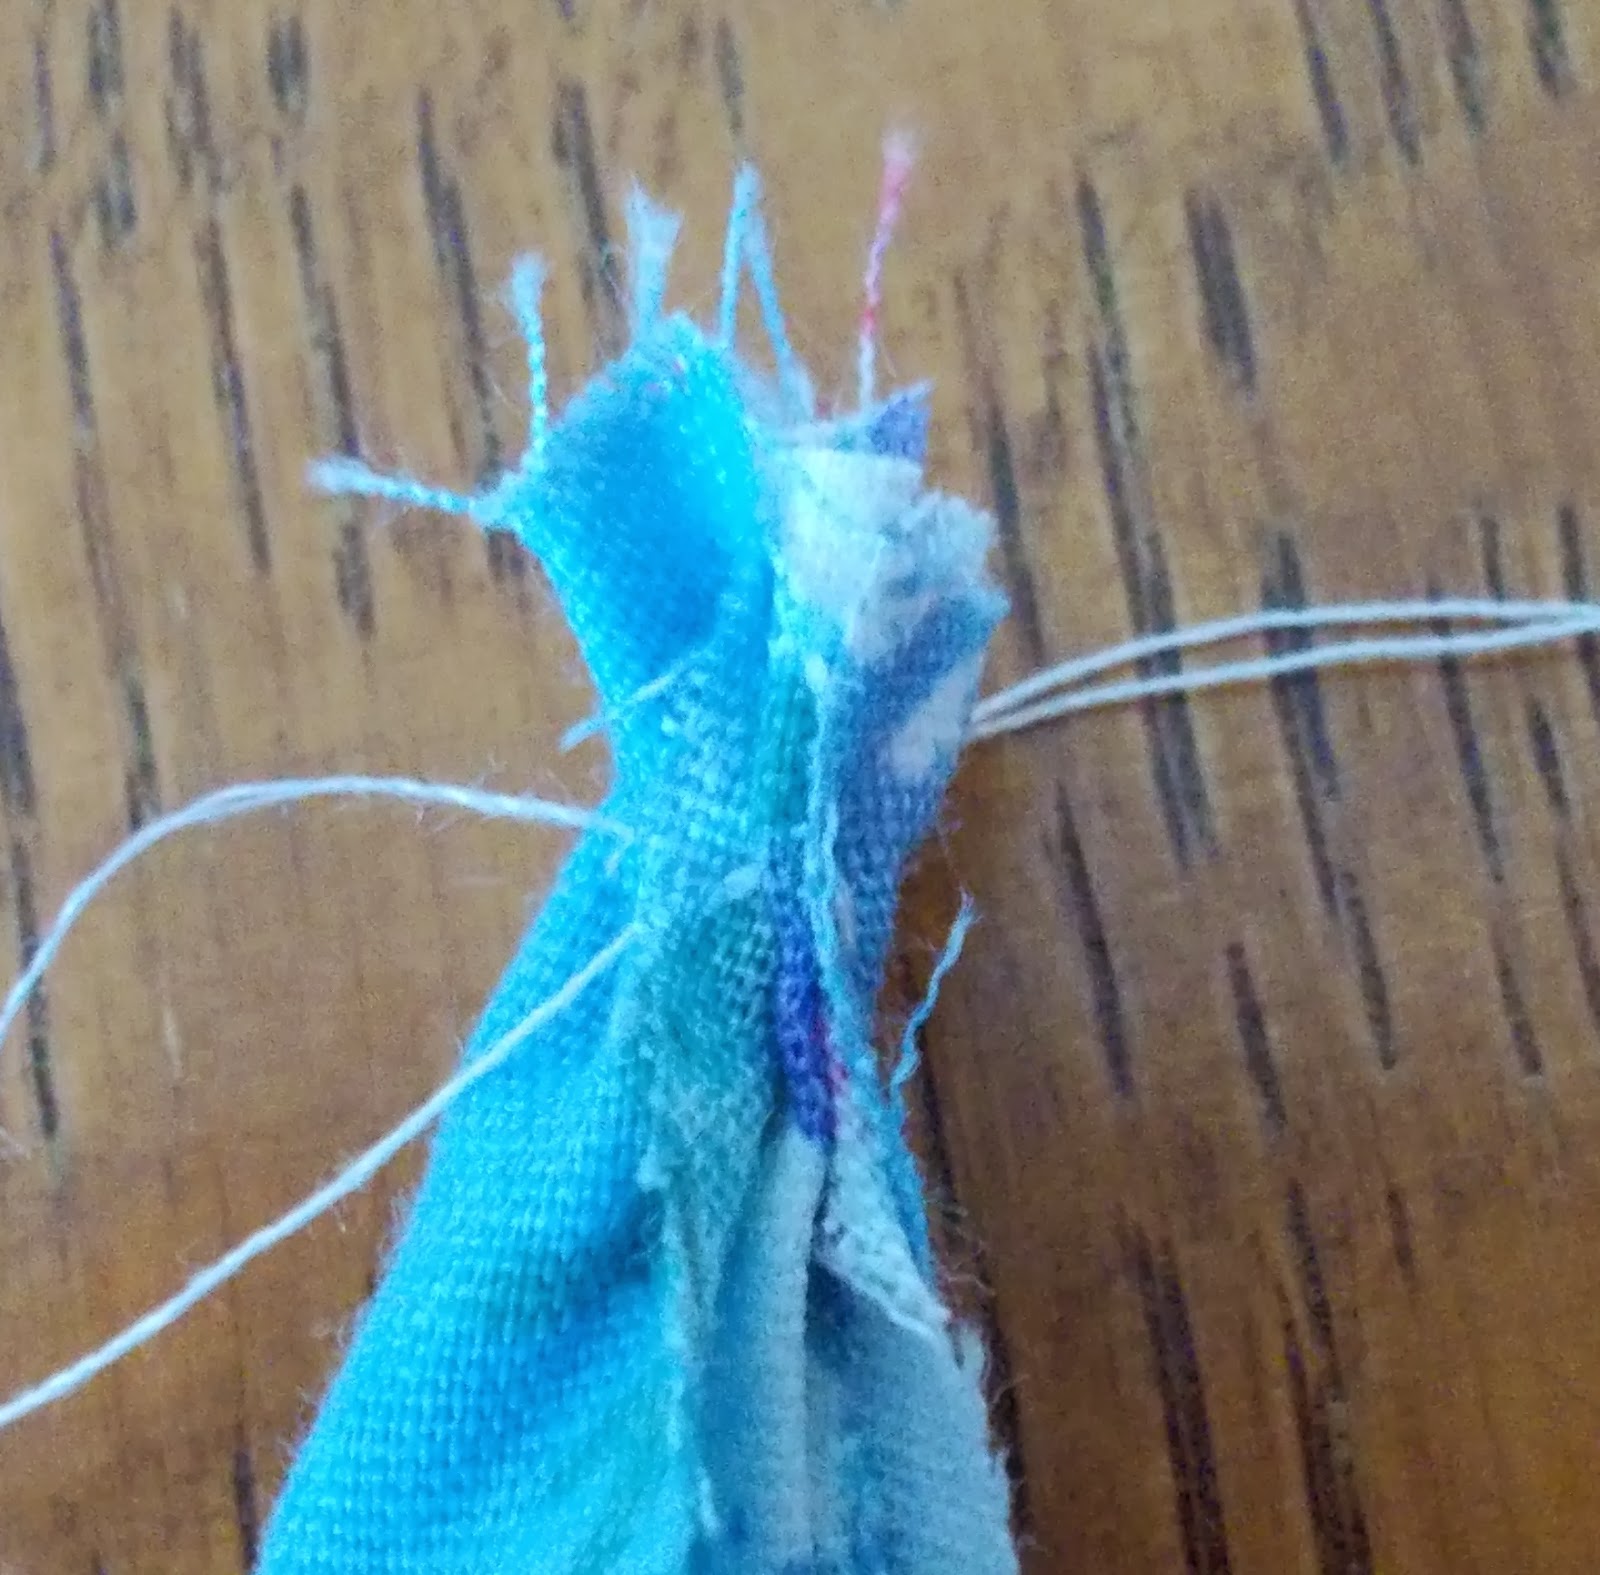
Fruit Punch Infinity Scarf by Navy Wifey Peters
This scarf is so pretty! I also love pink, so of course I love this!! I can't wait to try it. Thanks for posting T'onna!

Crocheted Button by Content in the Meantime
This is such a great idea for a crocheted top, a purse, shawl, pretty much anything! And it's great because you don't have to use store buttons at all! Great tutorial Sara!

Be sure to grab an I've Been Featured button!

Now for the Link Party!! You may notice that it's just links and not pictures this time - at this point I'm not ready to start spending money on an extended plan yet, but I may very well do that in the future. Thanks for understanding! 


Follow Me on Pinterest

Saturday, July 13, 2013

Braided Coaster & Potholder


Finally a tutorial!! I made up my mind that I HAD to get some sort of craft done lest I forget how. So here's the tutorial for the Braided Coaster/Potholder. The only difference between the two obviously is the size. 
For a coaster, cut 6 strips of fabric approximately 3/4" wide and 22-24" long. 
For a potholder, cut 6 pieces (or 9, depending on how big you want it) 3" wide and 1 yard long. Sound like a lot, but it really isn't. Now for the instructions:
1. Cut your fabric into strips.


2. Sew the ends of three fabric strips together. 
(pretty much however you want - messy is totally okay!!) 
Tie the ends of your thread together but do not cut them. 
You will be using them for sewing the braid together later.
Begin braiding the pieces together. I suggest braiding fairly tight, 
otherwise you will end up with too loose of a "weave."
3. When you reach the end of your fabric pieces, 
place a chip clip (or other pinching apparatus) to hold the ends.
 Place another strip of fabric on a fabric end as shown. 

4. Sew the fabric pieces together. (Again, this takes ZERO talent. 
You can sew it as messy as you like and it won't matter.)
Tie ends. Repeat on other two fabric pieces.
5. Once you have the new fabric pieces sewn on, continue braiding.


6. When you reach the end of the fabric pieces, clip them together.
7. Determine which side of the braid you want to be the top or bottom.
Beginning at where you started braiding,
 twist the end inward as shown while keeping the braid flat. 

Begin sewing on the underside. 

8. Continue sewing, making sure that you make it loose enough so it doesn't pucker.


10. Before you reach the end, using another needle, 
sew the ends together just like you did at the very beginning.
Trim the ends fairly close to where you sewed them (3/8").
11. As you finish sewing, tuck the end underneath a bit so that it doesn't show.
Tie ends and weave them into the fabric.


As you can see in the picture, this coaster came out about 3 1/4" in diameter. 


The potholder is about 8 - 8 1/2" in diameter. It is pretty much the perfect size for any pot.


~~~~~~~~~~~~
I hope I didn't over- or under-simplify this for you! Let me know how it works for you.
Please leave a comment and follow my blog!
~~~~~~~~~~~~


Follow Me on Pinterest