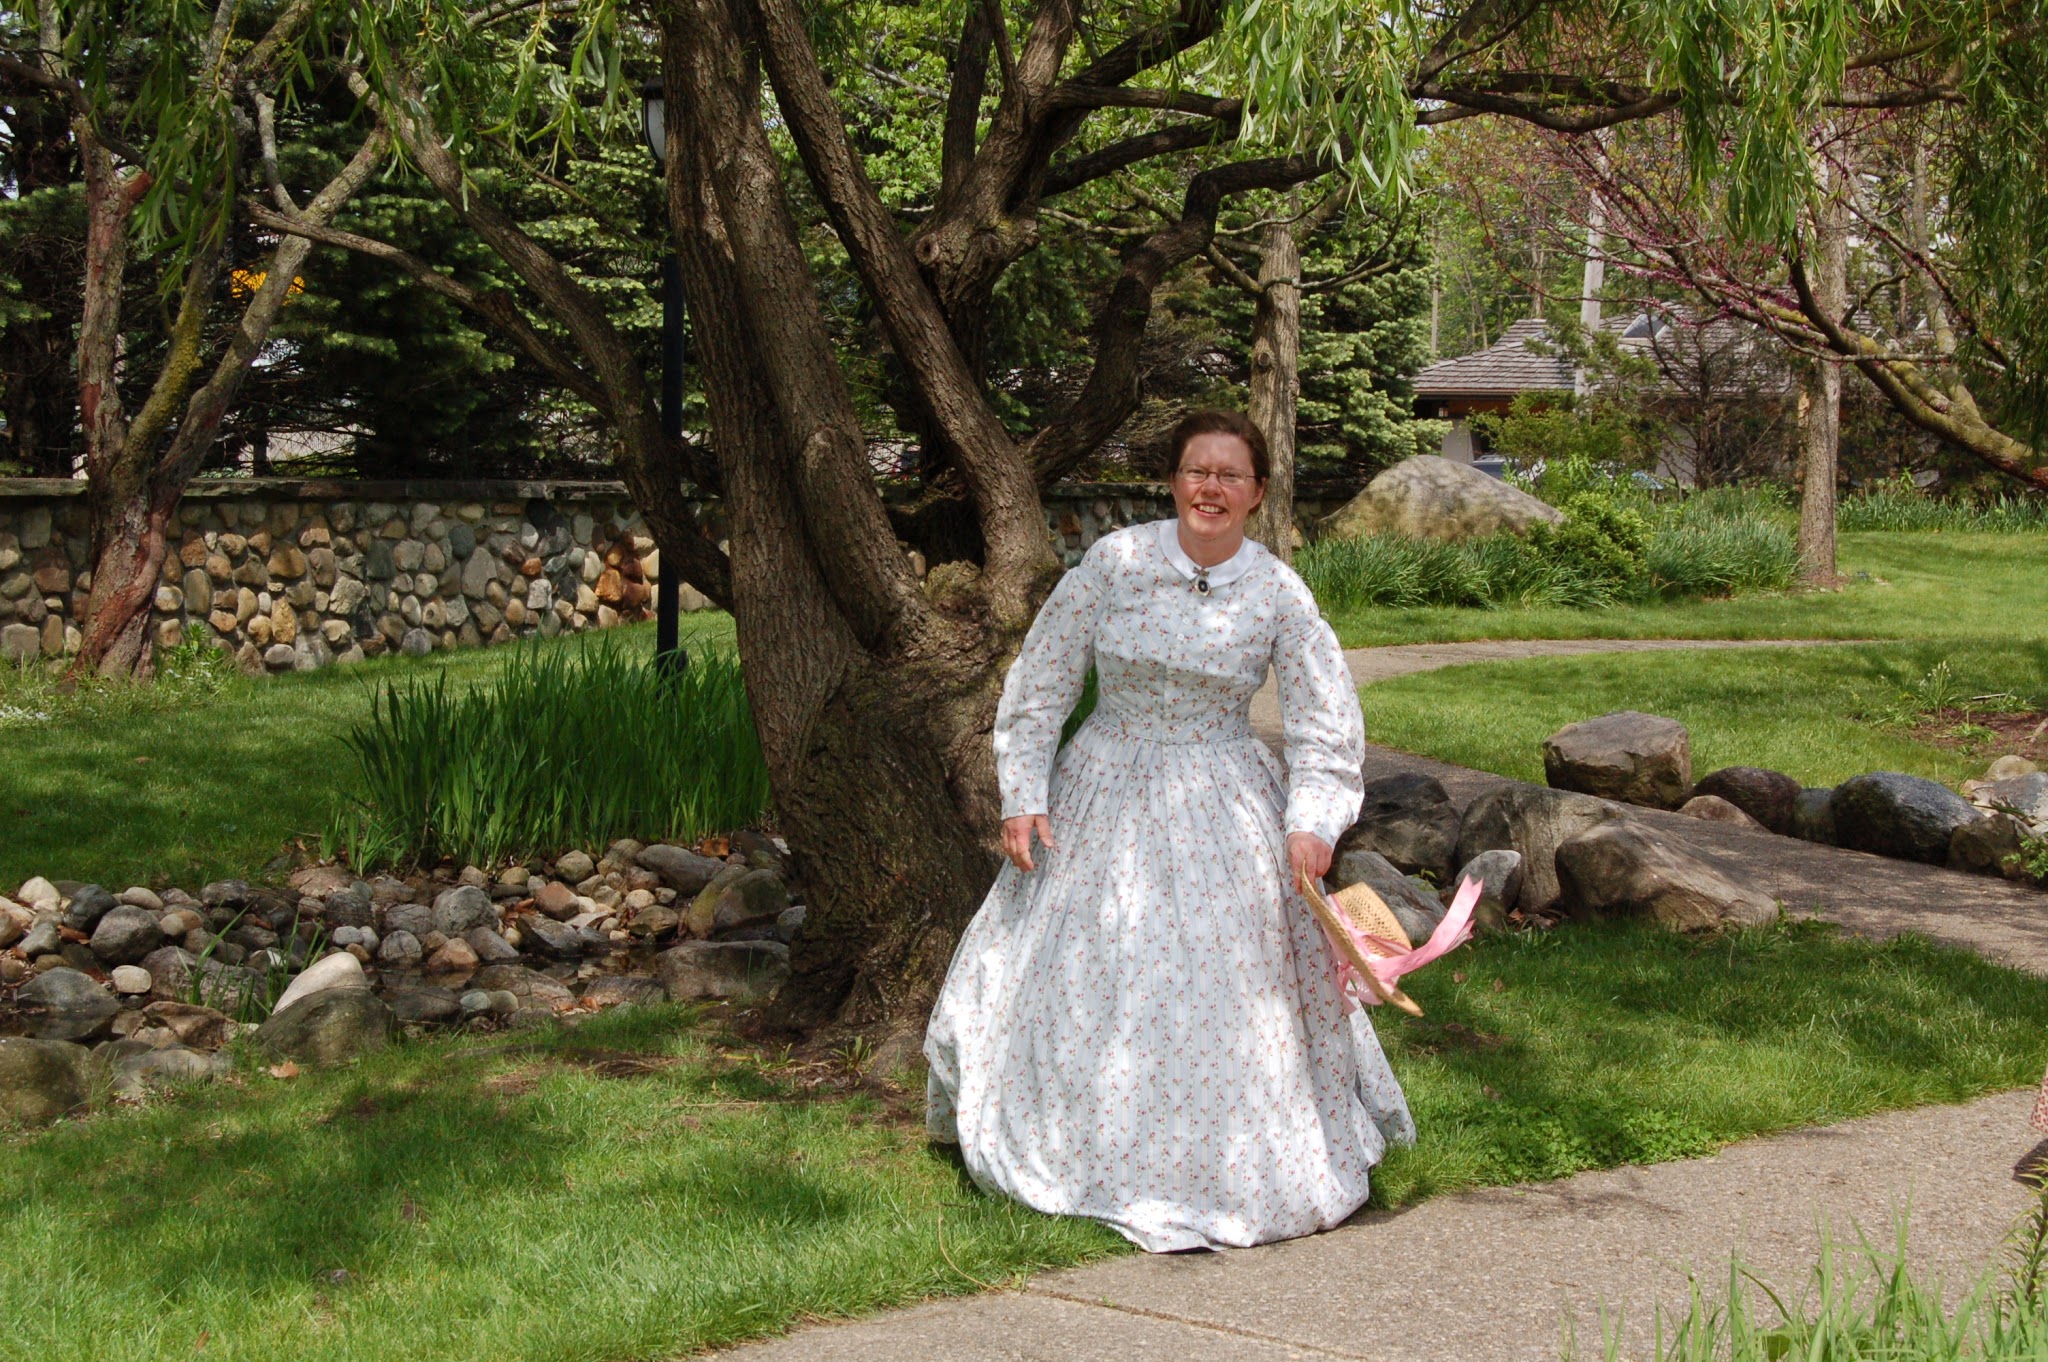
I present to you one of the fluffiest dresses I'll probably ever own, barring a tiered, ruffled 1860s dress, which is not out of the realm of possibility. ;)
The very moment I saw this pattern for sale on Ebay, I knew I *had* to have it. It was totally worth staying up until 12:45 AM to win the auction!!! :) It was only $10 or so, if I recall, and being it produced one of my favorite dresses ever, I would definitely say it was worth it.
I love how all 18(!) steps are printed right on the back of the pattern envelope, along with the layout and everything else you need to know. And strangely enough, it was as easy to follow as the every-step-spelled-out-for-you pattern instructions of today!

This gingham fabric, which is the same fabric that my
pink shirtdress is made of, came from our local fabric shop's clearance section. So it was only about $3 or $4 per yard, and 60" wide at that! I always knew I wanted to make a frilly '30s dress out of it, so this pattern was just the ticket.
The kicker is that this fabric is poly/cotton. And I do love poly/cotton. Not quite correct to the period, but I'm totally okay with that, especially when it makes a dress that doesn't wrinkle!! What could be better than a wrinkle-free fabric when you have all those ruffles to deal with?!
I had to do some altering to the pattern before I made it, but I didn't actually make a mockup, so it's a miracle that it came out fitting so well. It was hard trying to measure different areas with the crazy hip yoke and all! Whew!
I was *SO* excited to finally wear my new 1930s hat!!! My parents bought it for my birthday several months ago, but I hadn't had a chance to wear it yet. Needless to say, I'm hooked. :)
The ruffles are circular-cut, each piece is different (front, back, upper and under ruffles), and they are all gathered as well. Since I wasn't about to embark on the hand-rolled-hemming journey for anything less than something from the 18th century (and the fact that the circular edges were pretty much impossible to rolled-hem!), I decided to pull out the evil rolled-hem foot and give it a whirl. It was touch-and-go for a while, and there are plenty of imperfections, but overall I could have hugged the dear little thing for saving me SO MUCH TIME. It was surprisingly easy to use once I got the fabric started in there, and then it was just a matter of maintaining the right amount of fabric that was in the rolling part of the foot so as not to have 27 layers rolled up at once.
Incidentally, I was able to do a 2-1/2" hem, which made me very happy, and the dress ended up being the perfect length for my full-length slip to come *just* below the top of the hem, preventing any funny shadows from happening. Yay!! :)
(Pardon the cooler, but we were headed for a picnic..........) ;)
The seam allowances on the pattern were 3/8" (good old 1930s!!), so the main thing to remember while sewing the dress was to serge all of the raw edges first!!!!!!!!!! Especially since the side front, side back, waist, and skirt yoke seams were all lapped seams. And those can be difficult to serge once they are sewn, even with 5/8" seams.
This dress is definitely one of the most comfortable ones I have made to date, and the main reason for that is the ties!!! Oh, how I love ties!!! No adjusting, no wondering if your belt is in *just* the right place. I think I need to put ties on all of my dresses from now on. It wouldn't look out of place or anything, would it?!!?!! ;)
The skirt is the niftiest thing, coming to an upward point in front, and a downward point in the back. So much fun!!!
Incidentally, I did not even put a zipper in this dress. Weird, right? It slips on just fine without one, so I thought I'd skip it rather than wrangling with either a lapped zipper in a 3/8" seam (sort of impossible), or putting in a placket (not fun when you haven't done one in 1.8 years). All it does is add to the comfort factor, so I'm all for it!
*fluffy bow*
If it weren't for my mom, all of the bows on my dresses would be the sorriest-looking things. Thanks, Mom. ;)

I had a period of deep dislike for this dress (uh, that happens a little too often sometimes?!) when I attached the sleeves that I originally planned for it. I was planning on making the big puffy sleeves, but gathering them onto a band rather than with elastic. Well, I basted them onto the dress, and it looked perfectly dreadful. Sort of like a baby dress at 10x magnification. :| The armholes were also terribly small. So it got tossed in the UFO pile for a little while, until I finally decided to cut new slender sleeves (and re-cut the armholes!) from a 1940s pattern. They just barely squeezed out of the old sleeve pieces (I had ZERO extra fabric!), but they did, and I finally sewed them on last week. I like the very simple, shorter sleeves *so* much better than long, full ones.
Instead of a bias or small neckline facing, I did really huge facings on the neckline, so that they would end up below the strangely-low neckline of my slip.
Overall, I love my fluffy little dress, and can't wait to wear it again and again! :)
Thanks so much for stopping by, and have a lovely week!!


