

It has taken a long time for this to come about, but we're finally sewing 18th century garments!! At last!!
Last month, Lily of Mode de Lis listed the JP Ryan stays pattern in her Etsy shop. It was the right size and a good price, so we bought it! It dawned on us shortly afterward that it would be fun to make colonial outfits for Thanksgiving, so we have since started working on our outfits, from the inside out (of course!).
Incidentally, the stays don't really look like anything on Thelma Lou, but that's because she just simply isn't cinch-able.

We had a nice piece of striped ticking that worked great for the outside of our stays (the same fabric is used on my mom's stays). The "interfacing" of mine is linen; hers is cotton duck.

If you're my friend, you won't look too closely at the binding.....
The stays came together very easily, with the hardest part being sewing on the binding. I'm not exactly itching to make another pair of stays any time soon after that experience! I can only imagine how dreadful it would be to bind them with leather! Ugh!! My fingers would never forgive me if I tried something like that.
I really (really) didn't want to use reed at all for boning; the idea of having it break and having to replace it was NOT a good one to me. So I used 1/4" steel boning instead, and only boned a little over half of the corset. (That still ended up adding up to around 50 bones!) I put boning in next to all the seams, in the tabs, and other essential areas, and the rest was basically just in every other casing. I did sew boning casings all over the entire stays, however, because I found that it added a lot of stability.

I would definitely recommend purchasing the stays pattern one size smaller than your actual measurements. I did, and my stays lace up to within about 1 1/2-2" of each edge right off the bat.
I am a definite fan of this pattern though, as far as 18th century stays go! I absolutely love how the back extends much farther up in the back than the front. And the fact that they have no straps makes them actually practical to wear.
I am a definite fan of this pattern though, as far as 18th century stays go! I absolutely love how the back extends much farther up in the back than the front. And the fact that they have no straps makes them actually practical to wear.
The fabric I lined my stays with is a reproduction quilting cotton (from 1855, incidentally, but it's pretty enough, I really don't care!). It's the same fabric as my garters and the lining of my reticule. You could say I like this fabric. :) In fact, I like it so much, I'm planning on getting more for an 1855 dress!

Eyelets! Their misshapen-ness gives them character.
Right??! ;)

These first pictures show the stays and petticoat over my regency chemise; I hadn't sewn my colonial chemise yet when I took the pictures, so that's why.
In any case, the next layer is my plain gathered petticoat, which will be handy for several different eras!
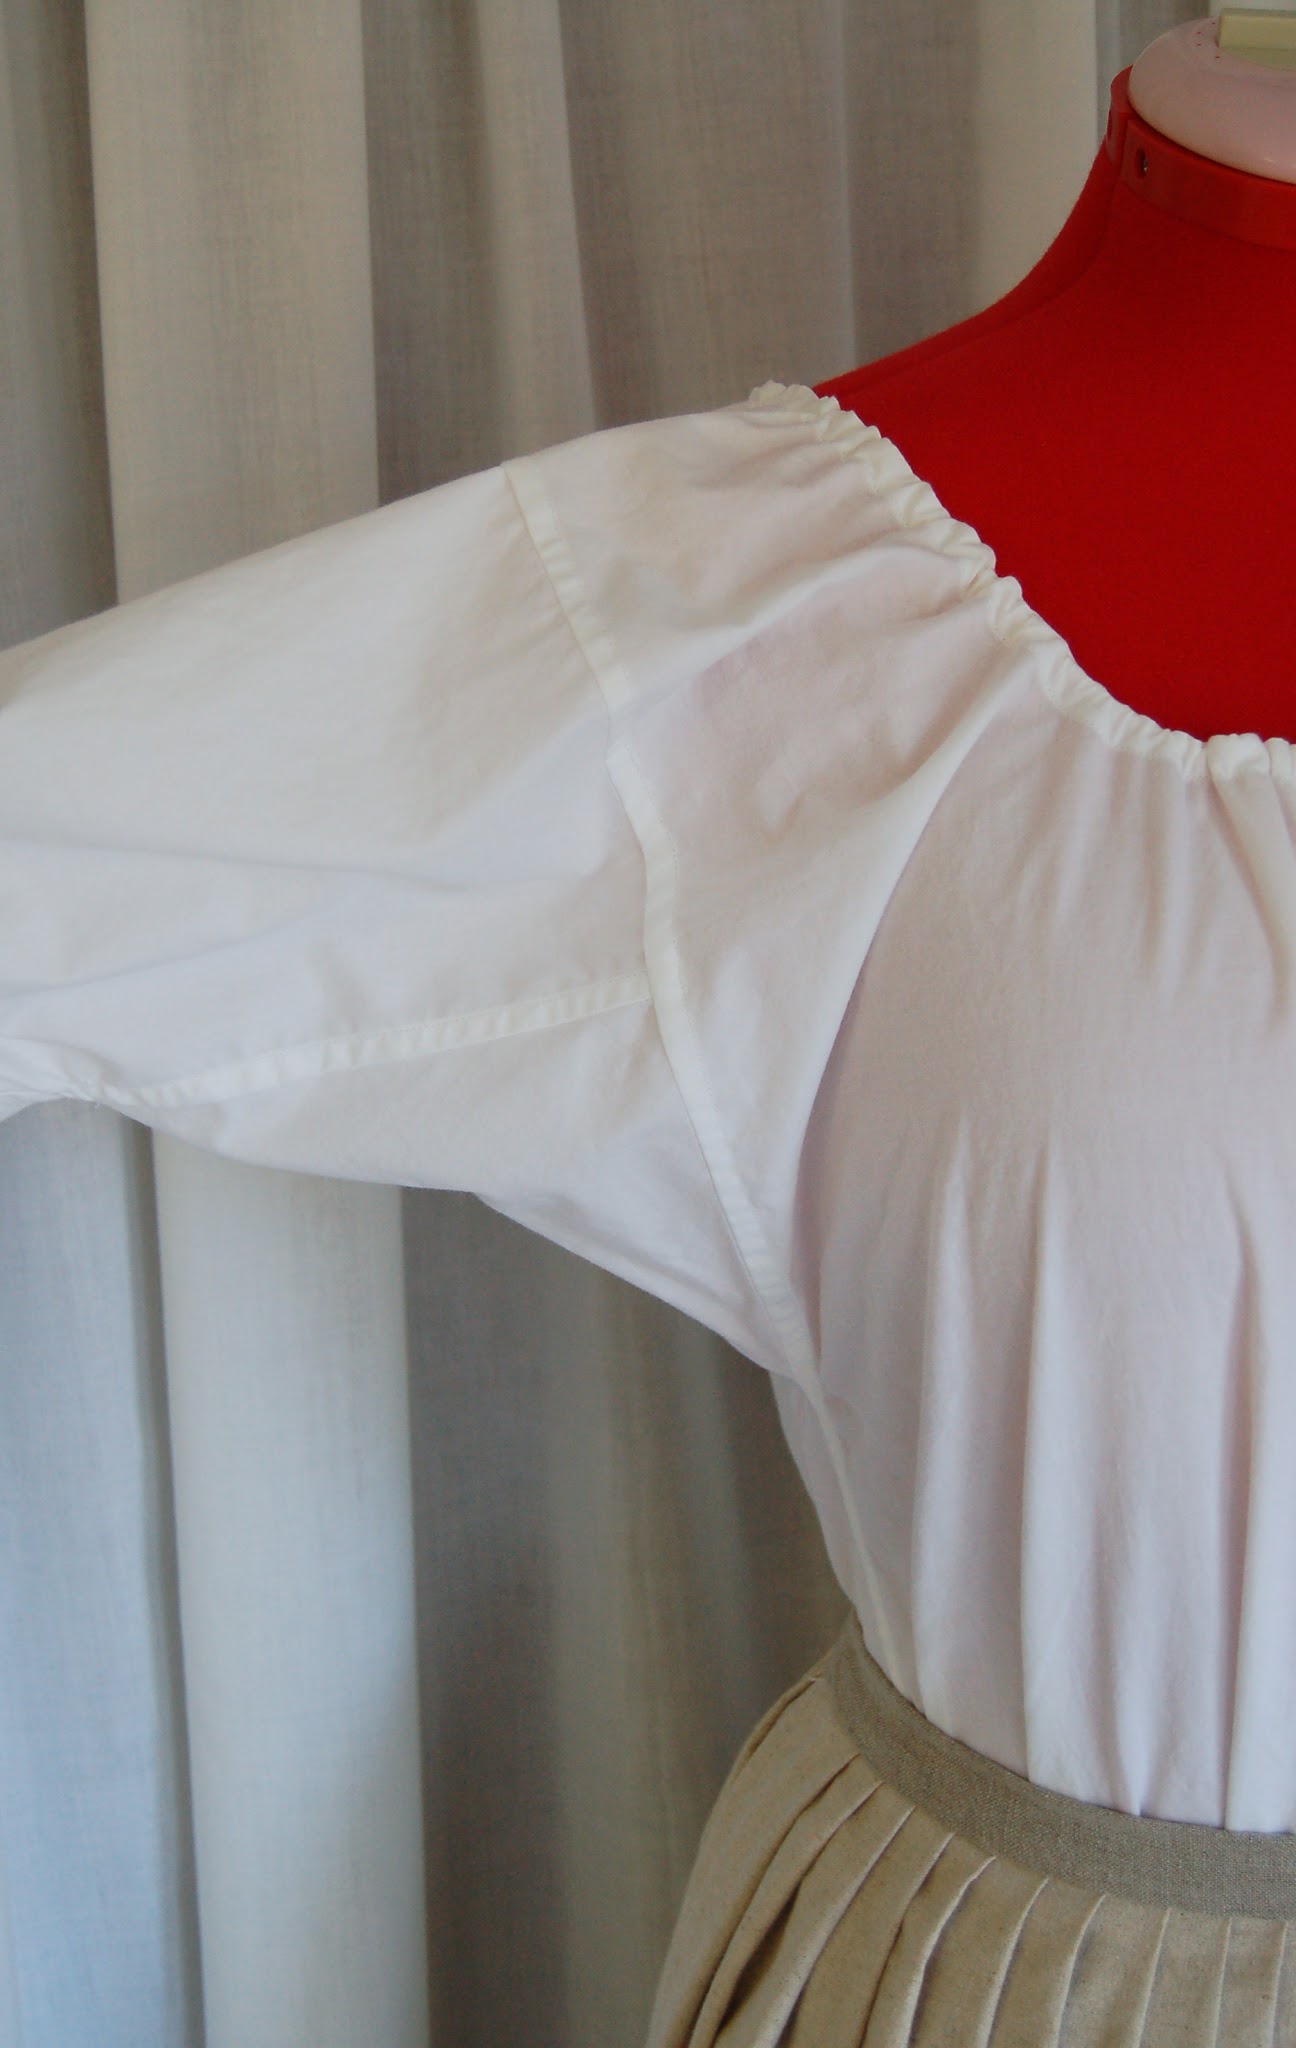
My colonial chemise is made of muslin. We didn't have any linen on hand, or a place to buy it nearby, or the time to order it, or the inclination, so we just fudged it with muslin. It works for starters!
I made it using my self-drafted chemise pattern (yes, I'm still prodigiously proud of myself for coming up with it, especially since I did so very early on in my sewing experience!). The sleeves have gussets, and all the seams are flat-felled.
The sleeves are ridiculously long in these pictures because they have not been hemmed yet. We figured it would make sense to wait until we have our jackets made so we can decide on the exact sleeve length we want. In the mean time though, they just look ridiculous! But that's fine! :)

I embroidered a pink "E" (a fancy one this time!) on the front, but this time I actually had a good excuse! My mom's chemise is exactly the same, so we had to have something to differentiate between the two. Hers, of course, has "Mom" embroidered in blue on the front. ;)

Ahh! The petticoat! I have had this thing partially assembled for....a long time. About a year, in fact! Evidence that I've been wanting to sew 18th century outfits for ages! :)
I had to redo the pleats at the waist though, because the original ones I had made were too big. I seem to have a mental block for figuring out pleats, so I'm always just trying to guess at how big and far apart to make them. Luckily for me, my first guess was the right one! Score!! :)
The petticoat is made out of linen, very nice quality linen, as a matter of fact! It's very nice and thick but also has a nice fine weave. It is about 135" around (equivalent to 3 widths of fabric), but cut crosswise so I could just seam it at the sides for pocket openings. And the 45" width of the fabric makes for the perfect length petticoat once it's hemmed! (No, neither of the petticoats are hemmed....just in case you were wondering!)
(Yes, Thelma Lou's stays disappeared! I didn't feel like taking the laces out just to fit them over her again, so she went without this time)

The front pleats are pleated towards the center, while the back pleats go the opposite direction. The waistband is also linen, but a different, heavier weave than the main fabric.

The way 18th century petticoats tie at the waist is so fun! I love how adjustable they are.
On a side note, I didn't forget about hanging pockets! I'm working on embroidering mine, but haven't finished yet. Actually, I'm only on the first one, and I'm still trying to find a legitimate excuse to leave one of them un-embroidered. I haven't come up with anything yet. ;) I enjoy the embroidery, but it's the freehand drawing-on of the pattern that is not my favorite pastime.

This cap is....rather unorthodox. I used the Kannik's Korner cap pattern, but unfortunately chose some rather too heavy linen to make it. By the time I was half done, I knew it wasn't going to work very well, so I decided to just go ahead and finish it on the machine. It turned out fairly well, considering, and it will work until I find some suitable cap fabric. It's fun to wear, even if it isn't made right! :) And it stays on miraculously well! The only problem is trying to smash my hair into submission under there!

Confession time; I am guilty of committing the ultimate trespass any seamstress can commit.
I bought a cloak! Dreadful, isn't it!! ;)
I wanted a cloak really bad, but after searching high and low for wool, I decided that it would be cheaper to just buy one than to make one. So I went ahead and purchased the Short Cape from Jas. Townsend. I am very happy with it! The 24" long description makes it sound *so* short, but it is actually the perfect length, and much longer than one would imagine! It falls right at wrist length, which is ideal for being able to still do things without fighting the cloak. AND, it's SO soft and warm.

It has a lovely little collar, and the most beautiful pewter clasp. Jas. Townsend makes their own pewter clasps, in fact! Bonus! :)

It is lined with coordinating blue cotton. I was reading this article about cloaks while I was researching them, and I found it very helpful! Although there aren't very many things niftier than a long cloak, the shorter length really is more practical! And just like the article says, you can swing the front edges back over your shoulders if you get too warm without being strangled. And avoiding strangulation is always nice! ;)
Ever since I bought my cloak, I've been suffering from a severe case of cloak addiction. So much so, in fact, that I took out a UFO skirt I had in the drawer of shame and refashioned it into a cloak! I can't wait to share photos of that, but I'm determined to wait for a suitably snowy background to take pictures. And at 60-70 degrees, that's not likely to happen just yet.
I hope you enjoyed this post! :) We're having a blast sewing these outfits. And we can't wait to get started on our jackets....whenever the pattern gets here!
Oh, I can't wait to see the completed outfits!! I love the fabric combination you chose for your stays.
ReplyDeleteThank you, Sarah! :)
DeleteLove love love! Those J.P. Ryan stays are the best! I loved mine!
ReplyDeleteThank you so much, OldFashionGirl! I saw your post about your stays - they were lovely! :)
DeleteWhat a fantastic idea for Thanksgiving. If ever there was a holiday that seemed especially well suited to historical garb, that, IMO, is it.
ReplyDeleteHappy sewing and (beautiful!) new cloak wearing! :)
♥ Jessica
Thank you, Jessica! :)
DeleteYour stays look wonderful! Good job on the binding, I think it looks very good. Also, the petticoat is really nice, the fabric looks like very a nice quality. I totally share your fascination with cloaks and capes, how can you not love them? Yours is a beautiful example!
ReplyDeleteThank you so much, PinhouseP! You have made me feel much better about the binding! ;)
DeleteThanks for commenting!
Amazingly gorgeous! I hope to someday get to your skill level with clothesmaking!
ReplyDeleteAww, thank you so much, Kira!! You're so sweet!
DeleteAwesomeness! Hurrah for building the outfits from the inside out. I like the stays! (And the binding looks fine. :) That's how mine turns out on less curvy pieces, anyway! ) I can just imagine what the jackets are going to look like...no doubt something gorgeous to contrast with the lovely, classic, basic skirt. It's funny, I am getting to where I can tell when high-quality fabric is used. It shows up in photos even! Have fun with the rest of the outfits....and the cape is the perfect finishing touch by the way. (And it IS okay for a seamstress to purchase a piece once in awhile. :) Have fun wearing it, my friend!)
ReplyDeleteThank you so much, Sarah A.!! :) I'm glad to hear my binding isn't quite as dreadful as I thought!
DeleteI can't wait to show you my jacket! But we're still waiting on the pattern (GRR).
Thanks for your comment as always! :)
P.S. Email coming your way shortly... :)