So....I really wanted to make some sort of piece of clothing for a kid, BUT I needed something fast and easy.
Out came the Little Girl's Pillowcase Dress! It's super cute, super duper easy, and it's really fast to make.
I apologize for the horrible strange quality pictures. The lighting was bad,
and I had the color vibrancy turned up from a previous photo shoot, so it totally was too bright with all that pink chevron. Oops!!
Since I don't have a little girl to model for me, the pictures don't do this lil' dress justice, but it is seriously cute.
You can make this in pretty much any size you want just by lengthening, widening, etc.
UPDATE: If you make the dress the size I did, it will fit anywhere from a 3-5 year old, depending on how long you like to have dresses. I prefer them to be below the knee, in which case this would be perfect for a 3-4 year old.
Note: I say "serge or sew" in some places in this tutorial. I serge because we have a serger, but if you don't, just sew the seams at about 3/8".
I used Riley Blake chevron in gray and pink, with the gray going vertically, while the pink is horizontal.
To begin:
Cut out the pieces as follows:
2 main body pieces: 20 1/2" x 23 1/2" each
2 hem pieces: 4 7/8" x 23 1/2" each
1 neck-tie piece: 3 7/8" x 43"
Iron under the bottom edge of your hem pieces 1/4". Iron under again.
Make sure you treat the selvage (finished ~ NOT cut) edges as the top of your main body piece.
Iron under the side arm seam about 1/4", down to 10 1/2" from the bottom as shown in the picture. Iron under again.
Sew the hem on your bottom hem pieces right next to the edge as shown in the picture below.
Sew the arm seams right next to the edge, like you did on the hem pieces. I found that it was easier to start on the <--- bottom of the armhole, ending at the top. (Yes....my seam is shamefully crooked. That's what happens when you hurry. Don't hurry. Or you end up with a uh...shabby chic seam, as I like to call it.)
Serge or sew each hem piece to each main piece with right sides together, making sure you are sewing the raw edges together, not the hemmed edges!
Serge or sew the body pieces together, with right sides together, matching up the bottoms exactly. Start on the bottom, ending at the armhole seams. Just veer out to the edge once you reach the armhole seams. It's a lil' tricky, but you can do it.
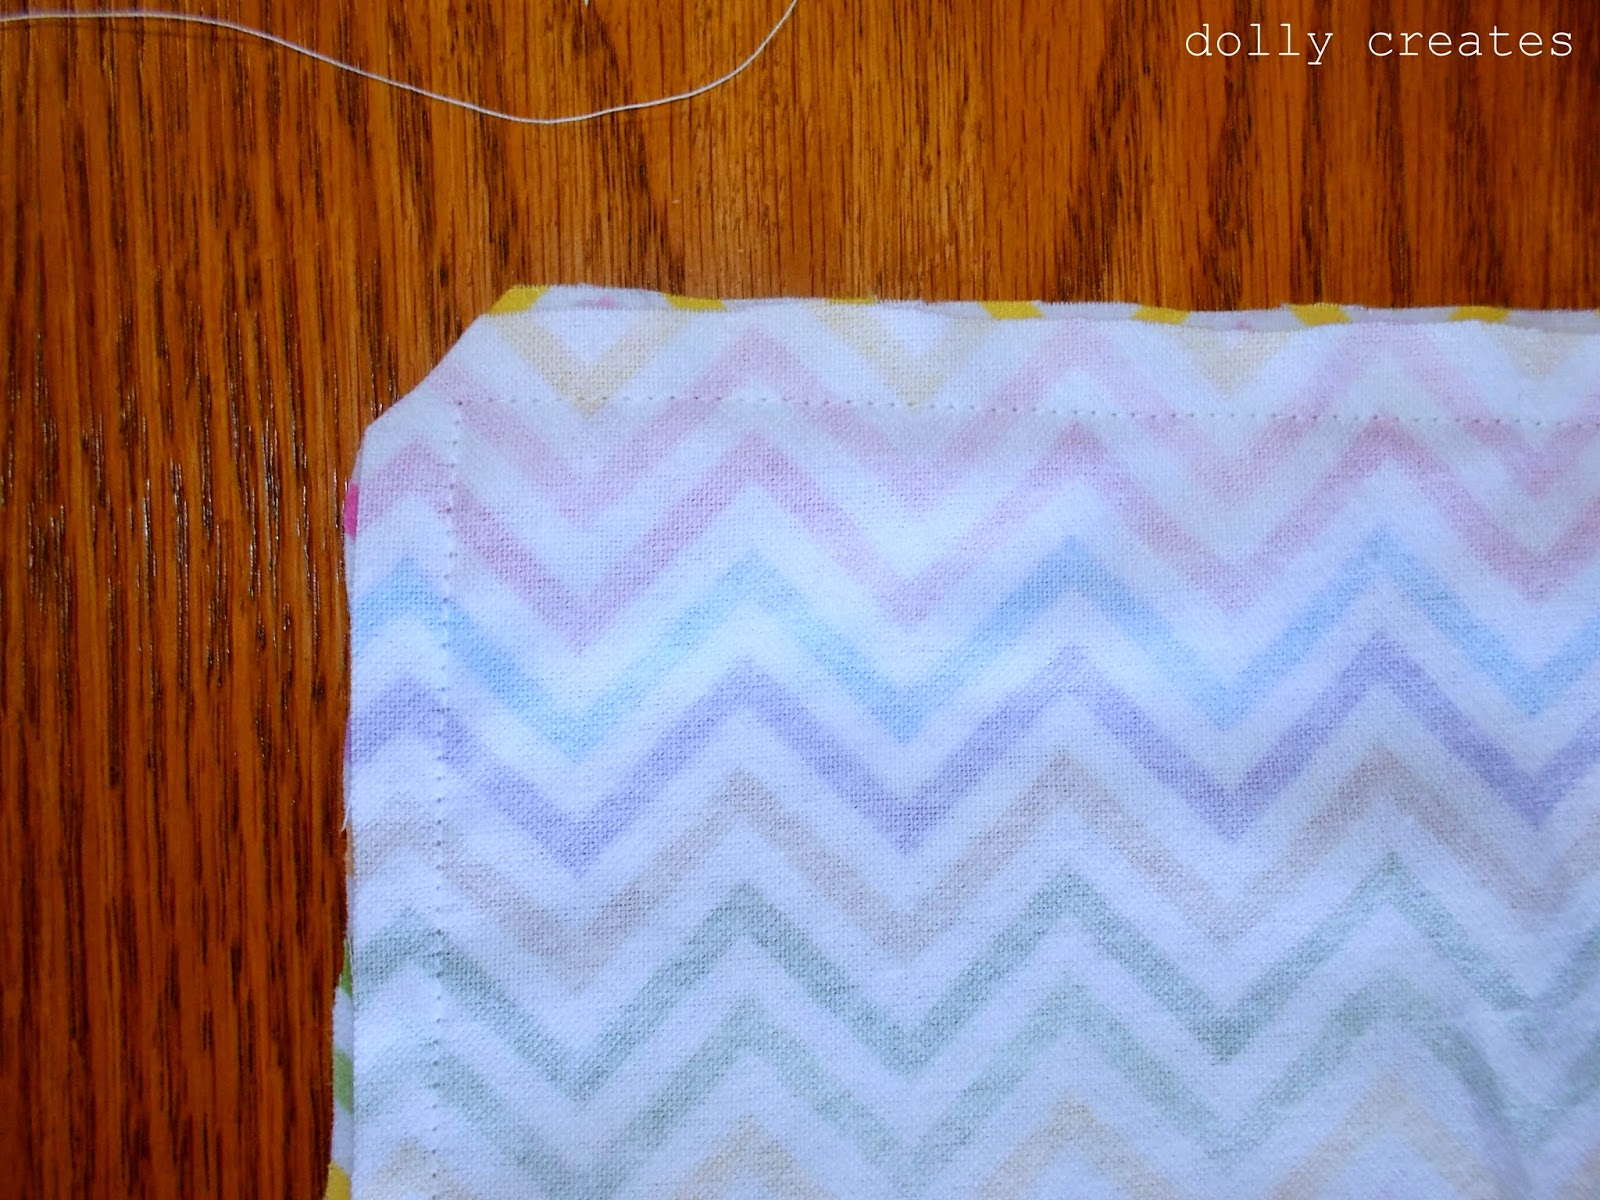
Iron under the top of each main body piece about 1 3/4".
Sew the seam about 1/4" or so from the edge, as shown.
Serge or sew the neck-tie piece, with right sides together,
leaving one end open.
Turn right side out and press out the seam with a metal ruler, or some un-melty object.
Feed the end through your body piece, and DONE! Hooray! Now to ruin your day: tie the ends and feed them through the fabric. I know. It's really not fun. Once you're done though, it's super rewarding.
~~~~~~~~~~~~~~~~~~~~~~
~~~~~~~~~~
Thanks so much for stopping by! Check back again soon for more cute projects. You can subscribe by e-mail or on Bloglovin above on the right. Follow me on Pinterest by clicking
this link.