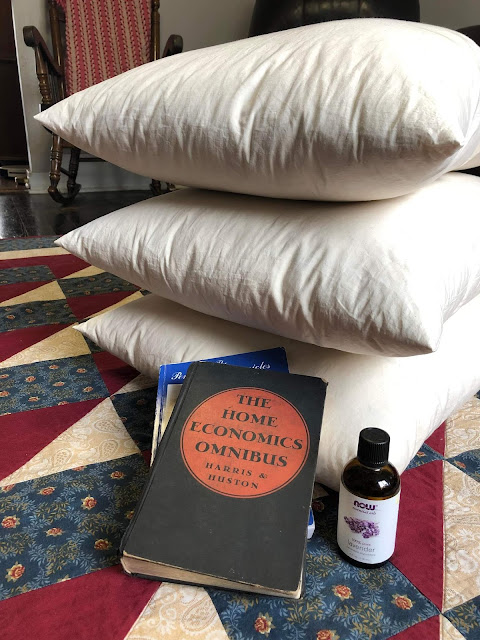
A few years back, my husband had the idea to buy some bulk down so I could make some pillows, vests, and a comforter. When I went to make the pillows, upon looking for tips and tricks for how to do so, I found there is virtually no information or tips about it online. So I decided to write up a blog post about it for anyone else who might want to make their own as well!
It only takes a short time to whip these up - I seem to recall getting all four pillows stuffed and sewn shut while my daughter was taking an afternoon nap.
You will need:
- Down proof ticking. I purchased mine here on Etsy. This is not the standard striped ticking that comes to mind when you think of pillow ticking, this is a thicker fabric that is specifically woven to keep all those feathers inside! This particular fabric is very nice, heavyweight but feels great and would even work well to make throw pillows.
- Bulk down! We purchased ours here on Amazon, in the 80/20 blend. For one pillow, you will need 2 pounds of down. (See more about the weight later on in the tutorial)
- Thread, and a sewing machine
- A large bowl
- Scale
- Pins
- Lint roller (to get those pesky stray feathers)
To begin, cut your ticking into a long rectangle, 57.5” x 21” (for a standard size bed pillow).
Fold the fabric in half, lengthwise, matching up the edges.
On the short end (where we will leave the opening), fold the edges of the fabric over to the outside 1/2" like this, and pin:
Sew the two long edges shut, using a 1/2" seam and a very short stitch length (I would recommend about half of your typical stitch length, as we don't want the feathers to escape!).
Next, feed the pillowcase onto your ironing board, and first press the side seams flat.
Then, press the opening raw edge over 1/2" to line up with those edges that you sewed!
Now, we are ready to fill the pillow! For this step, I highly recommend setting up outdoors if possible, as the feathers do like to fly. I set up a little table on our front porch (in town, yep! All the neighbors already know I'm weird...) and stuffed them before bringing them in to sew shut.
First, tare your scale for the weight of the bowl + your pillowcase.
To begin filling the pillow, I stuck the pillowcase down into the box and tried to fill it as carefully as possible, because if you take a handful of feathers out in the air, it will make quite the mess.
Grab handfuls of the fluffy down, and begin stuffing away! It doesn't take too long, but it definitely will take more feathers than you initially think to fill the pillow.
Once you think you have enough, throw it on the scale and check! I used 2 pounds of down for our well-stuffed pillows, and I believe about 26 ozs for slightly less robust ones.
Once you have sufficiently filled the pillow, pin it shut carefully, making sure to line up those pressed edges.
Sew across the entire opening, using the very small stitch length, and backstitching at the ends! You may also wish to sew the entire seam a second time to reinforce it.
It can be a bit of a wrestle to fit it under your machine, but it is very doable.
Once you've finished sewing, you may remove the pins, give it a once-over with the lint roller, and you're ready to go!
You may experience a bit of feather loss over time - not that your pillow necessarily feels smaller, but you may just get an occasional poke in the neck from those pesky quills. One thing I can recommend to alleviate that is a pillow protector like
this one. I have also just doubled up on pillow cases, and it seems to work quite well.
We have been using our pillows for about a year and a half now, and love them as much as (or more than!) the very first day.
I hope you've enjoyed this tutorial and found it to be helpful! Let me know in the comments if you've ever made a down pillow before!
Have a great weekend, friends!!
♥ Esther


I have never made a down pillow, but have slept on some old ones that were originally my grandma's for years. I love them! (I have even stuffed them in the dryer on high once in a while to kill any potential dust mites, etc)
ReplyDeleteThis sounds like an interesting project to make! I have recently been interested in making a small "lumbar support" pillow for use in my car, as I often get a backache after driving for too long without the right support for my lower back. Thinking memory foam would be my best option...but I might experiment with some other things. Maybe it will make for a post some time down the road if it works. :-)
ReplyDelete