Wednesday, August 31, 2016

• Outtakes •


Sarah and I had the idea of posting some so-called "outtakes" on my blog, so here goes.  

I must admit, the amount of them that exists from every single photoshoot is rather alarming, but........it just goes to show you that we are all human.  It's just that some of us are a little more human than others.  ;)


Being rather jealous of my mom's pockets, I had to envision what it would be like if I had them in my own skirt.  


(outfits not posted as yet)

Something went wrong with that pose!  ;)


Here, it would seem we have an aged queen emerging from her carriage, being assisted by the hand of a servant.


Sarah decided to punish herself a bit by pulling her own hair.....  :)


....and later indulged in a native dance, otherwise known as mosquito swatting.  


Mom and I doing our rendition of "The Haircuts."  If you have not yet watched Sid Caesar's skit of a 1950s singing group, you simply must do so!!  :)  I guarantee you'll split a gut!!


Extreme......frustration?????  


Walking the runway, otherwise known as our back sidewalk. 


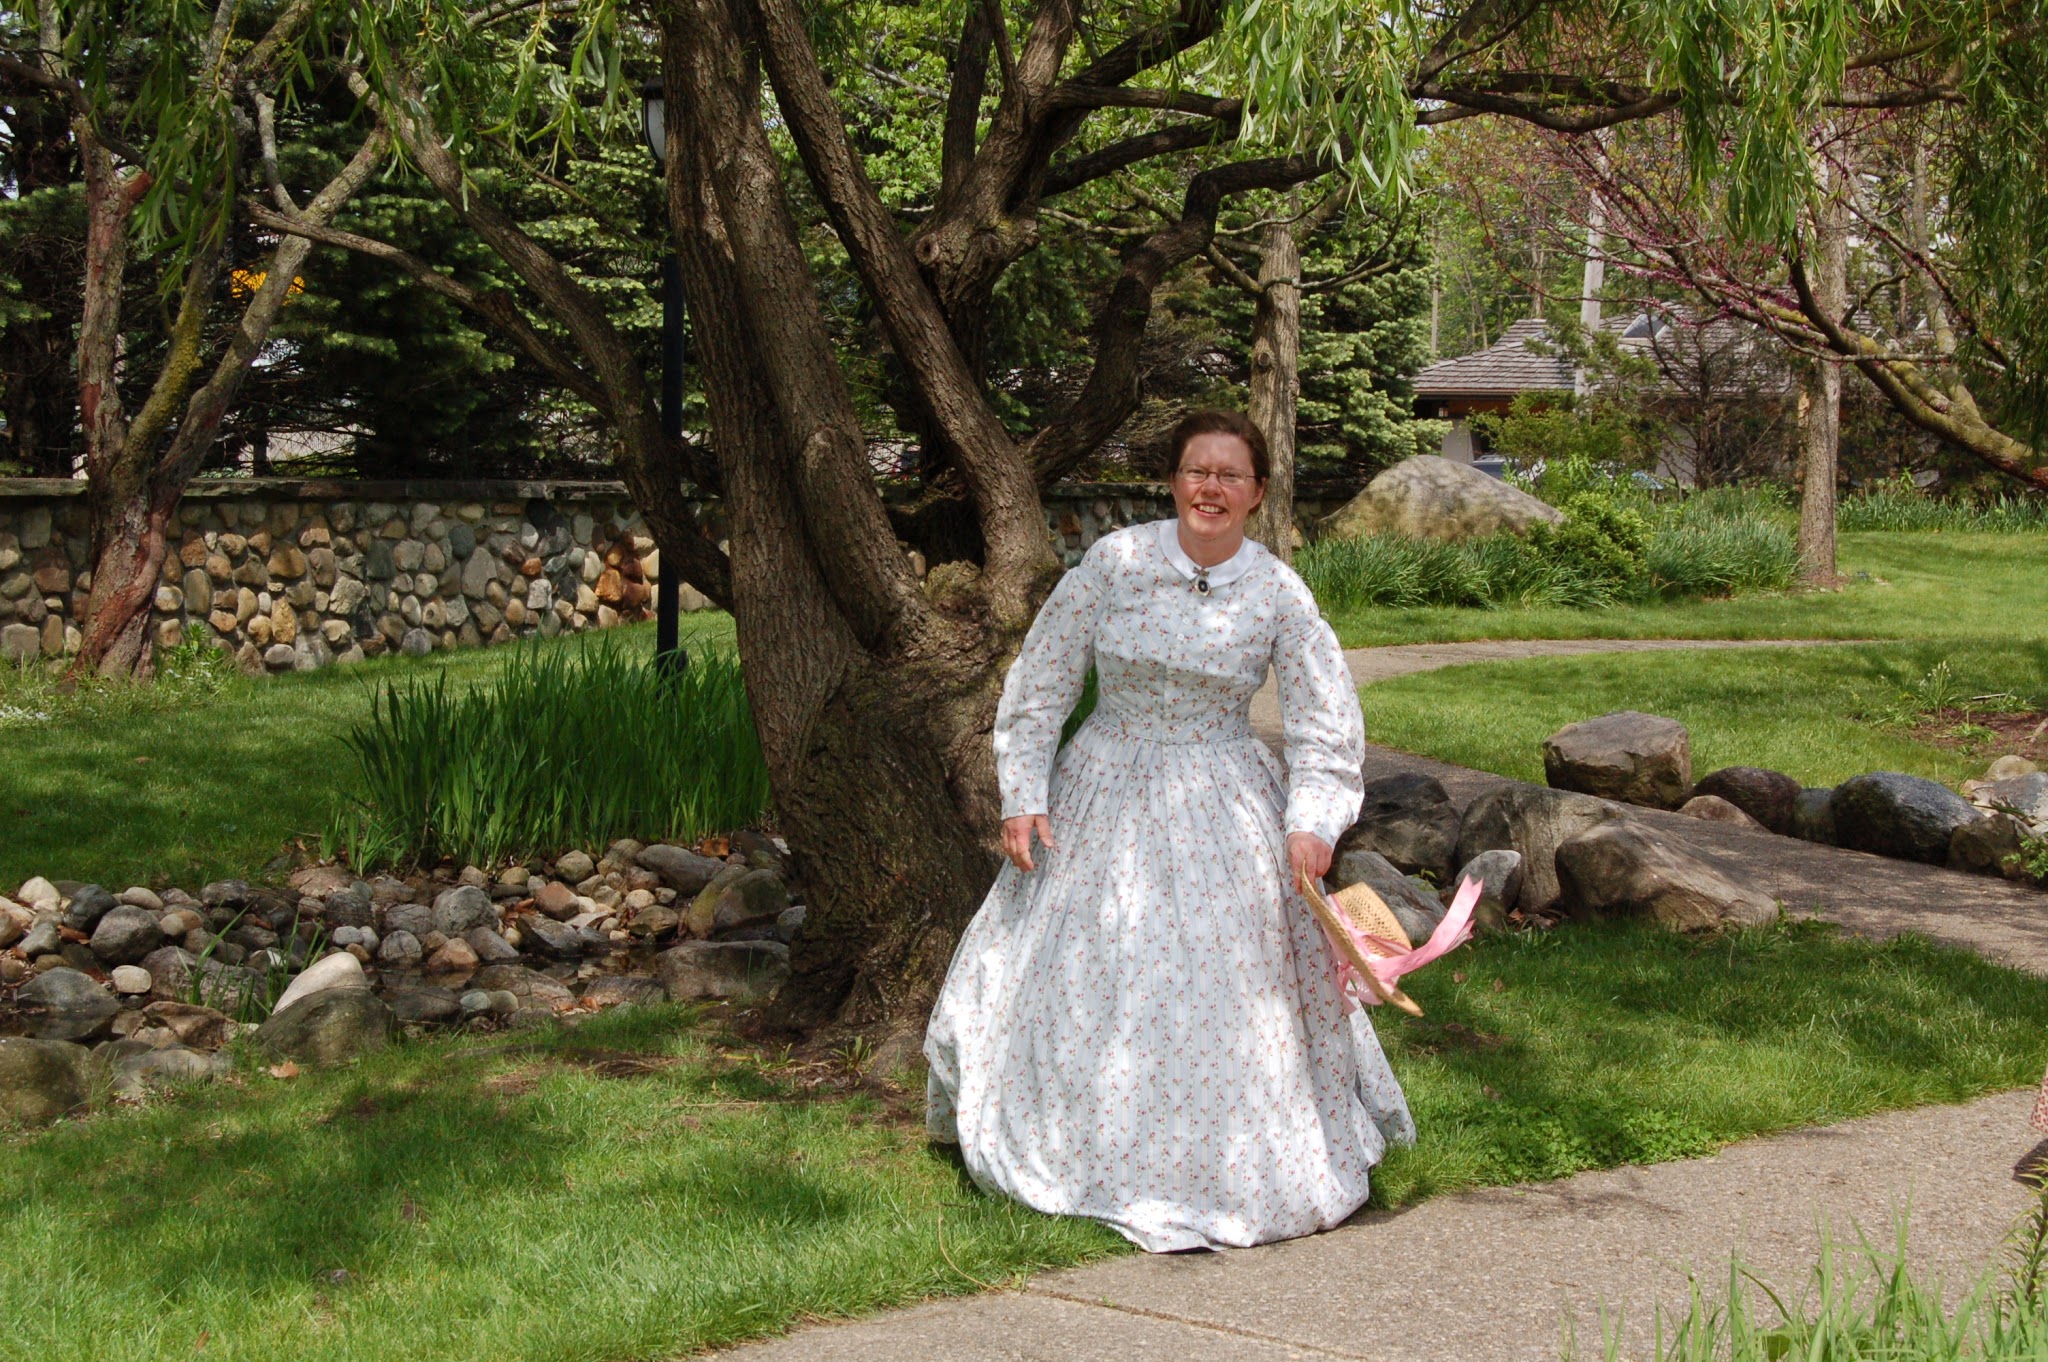
Sarah had a fancy to jump from a tree in her full 1860s gear.  The results, as you will see, were quite good.  :)


And speaking of 1860s, some of us like the idea of making our heads look just like acorns.  


Brown fuzzy bear jackets = height of vintage fashion.  Or not.
But what else would a girl wear when taking photographs in January?  ;)


What's happening here, I really don't know.  But it makes for an amusing photograph.  :P


Just, you know, twirling.  :) 


:)


Thankfully, I wasn't actually falling off the wall, but it seemed too good of a photo opportunity to miss out on.  


Twirling in a half-circle cape and skirt produces some interesting results.

~

Hope you enjoyed these goofy snapshots, or at least got a good chuckle out of them!!  :)  Have a wonderful week, and thanks for stopping by!!

Follow Me on Pinterest

Wednesday, August 24, 2016

Floral 1950s Dress • Refashioned


Today's post is *so* exciting, because it features my dear friend Sarah!  :)  

Last week I got back from a week-long stay at her house, and boy, did we have a time.  Sarah is the dearest, sweetest friend and adopted sister a girl could ask for, and I am so thankful that the Lord brought us together!  Always encouraging and pointing me towards the Lord, inspiring me in numerous ways, and blessing me with her wonderful testimony.  And on top of all that, sharing an unbelievable amount of the same interests and opinions.  ;)  Love you, gal!!


A few months ago I had mentioned to her that I was thinking of selling my floral 1950s dress.  It never fit quite right, and I found myself never even wearing it.  Sarah loved the fabric and style, but it was not the right size for her either.  Since I was in need of a gift to bring for her, I decided to remake the dress into a different style that would fit her!


She liked the collar on my lemon dress, so after much deliberation I decided to do that style for hers.  It turned out to be a lot trickier than expected since the sleeve and neckline areas were both shaped differently than the original, but it worked out in the end, and quite well at that! 


Suffice it to say, I am exceedingly jealous of her gorgeous hair.  *sigh*  Perhaps being around her hair for a week will have given my hair the incentive to grow.  ;) 


I used the same skirt that was one my dress and just took in the center back seam a bit.  The front is pleated, instead of being gathered like the original.  It gives kind of an early-1950s look, which is gorgeous and doesn't require a petticoat!


A wide belt seemed like it would be the perfect touch, especially since I had a spare buckle in a wider width.


I had *just* enough scraps left of the fabric to eke out a new front bodice, along with collar pieces.  It was a tight squeeze, but it did fit, and I even matched the center front seam!  Yay!!!


This collar is so much fun to make!  Especially since I actually made pattern pieces for it in the first place, unlike what I normally do.  ;)  It's nice to actually be able to recreate a style that I like!!


Even the back of the collar is cute!  :)

I originally planned on adding cuffs to her dress, but it looked too pretty without them to add them to it.  They ended up being just the right length and size, which is so fun!!


I'm so happy that the dress fits her so well, and looks so pretty on her!  :)  A pretty dress on a gorgeous lady.  Thanks for modeling it, Sarah!!  <3
Follow Me on Pinterest

Wednesday, August 10, 2016

• Aprons Galore •


It has been a long time since I posted about aprons, don't you think?  I really didn't think there would be this many to post, but I was happily surprised upon looking back through photos and finding so many of them.  Unfortunately for us (but good for everyone else!), not one of them was for us!  We need to break down and make ourselves some aprons!

Without further ado, let's jump in.  :)


I made this apron just a week or so ago for a friend's birthday.  The fabric seemed like her style and color, and was *just* enough to squeeze an apron out of.  It is an 1850s-1870s reproduction print, actually, and the fun part is that my mom and I have about 13 yards of a black and cream version of this exact fabric that we have grand plans for.  ;)


The style of this one is pretty simple; rounded corners, slight gathers at the waist, contrasting topstitching, and ricrac edging around the "skirt", waistband seam, and pocket band.   I did throw in a fun surprise though, which was lining the pocket with coordinating polka-dot fabric.  :)  (And yes, it IS the same fabric as the dress shown in the pictures)


Next up is this 1860s apron, which I did in fact make for myself, but I ended up cutting it too short for my height.  *tears*  It is for sale in my Etsy shop, so do check it out if you are in the market for one!  All stitching visible to the outside is done by hand, so it is perfectly period-correct, and made from reproduction fabric.


I love this fabric to pieces. 


The skirt is made from two widths (90" total) of fabric, so it is nice and full and hangs beautifully with or without a hoopskirt.  


I made this little one last fall for a wedding present, but sadly did not get many pictures of it at all.  Thelma Lou happened to be wearing this particular outfit, so it got to be the involuntary (and mismatched) backdrop for an impromptu photoshoot.  At least I have photographic evidence of it, anyway!


Contrasting waistband and ties, pleated skirt, and a sweetheart waistband.


*cuteness alert*

Another wedding gift, this little '50s job was made from feedsack reproduction fabric.  The contrasting gingham binding was from an old jumper or some such that we had saved just for this purpose.  :)  


The gal this apron was for *loves* ladybugs, so I had to sneak one on there.  :)


This gorgeous '50s sweetheart one was made over a year ago, particularly for the shop.  Click here to see the listing.


This particular gingham fabric has been used on SO many projects!!  I should pick up some more, methinks!  ;)


And last, but definitely not least, this gorgeous blue one my mom made for another wedding gift.  She made it using an original apron of her grandma's as the pattern.  I just love this style!!!! 


Fun blue polka dots accent the pretty floral.  Recognize that fabric?  It's the blue-toned version of my purple dress fabric!!  :)


Scalloped hem.


The pockets on this apron are the cutest thing; adorable little triangles!!  :)

I hope you enjoyed this post!  It's so much fun to share the smaller projects we make from time to time.  Thanks for stopping by!!  :)

Follow Me on Pinterest

Wednesday, August 3, 2016

• Fluffy 1930s Frock •


I present to you one of the fluffiest dresses I'll probably ever own, barring a tiered, ruffled 1860s dress, which is not out of the realm of possibility.  ;)

The very moment I saw this pattern for sale on Ebay, I knew I *had* to have it.  It was totally worth staying up until 12:45 AM to win the auction!!!  :)  It was only $10 or so, if I recall, and being it produced one of my favorite dresses ever, I would definitely say it was worth it. 


I love how all 18(!) steps are printed right on the back of the pattern envelope, along with the layout and everything else you need to know.  And strangely enough, it was as easy to follow as the every-step-spelled-out-for-you pattern instructions of today!


This gingham fabric, which is the same fabric that my pink shirtdress is made of, came from our local fabric shop's clearance section.  So it was only about $3 or $4 per yard, and 60" wide at that!  I always knew I wanted to make a frilly '30s dress out of it, so this pattern was just the ticket.

The kicker is that this fabric is poly/cotton.  And I do love poly/cotton.  Not quite correct to the period, but I'm totally okay with that, especially when it makes a dress that doesn't wrinkle!!  What could be better than a wrinkle-free fabric when you have all those ruffles to deal with?!


I had to do some altering to the pattern before I made it, but I didn't actually make a mockup, so it's a miracle that it came out fitting so well.  It was hard trying to measure different areas with the crazy hip yoke and all!  Whew!

I was *SO* excited to finally wear my new 1930s hat!!!  My parents bought it for my birthday several months ago, but I hadn't had a chance to wear it yet.  Needless to say, I'm hooked.  :)


The ruffles are circular-cut, each piece is different (front, back, upper and under ruffles), and they are all gathered as well.  Since I wasn't about to embark on the hand-rolled-hemming journey for anything less than something from the 18th century (and the fact that the circular edges were pretty much impossible to rolled-hem!), I decided to pull out the evil rolled-hem foot and give it a whirl.  It was touch-and-go for a while, and there are plenty of imperfections, but overall I could have hugged the dear little thing for saving me SO MUCH TIME.  It was surprisingly easy to use once I got the fabric started in there, and then it was just a matter of maintaining the right amount of fabric that was in the rolling part of the foot so as not to have 27 layers rolled up at once. 

Incidentally, I was able to do a 2-1/2" hem, which made me very happy, and the dress ended up being the perfect length for my full-length slip to come *just* below the top of the hem, preventing any funny shadows from happening.  Yay!!  :)


(Pardon the cooler, but we were headed for a picnic..........)  ;)

The seam allowances on the pattern were 3/8" (good old 1930s!!), so the main thing to remember while sewing the dress was to serge all of the raw edges first!!!!!!!!!!  Especially since the side front, side back, waist, and skirt yoke seams were all lapped seams.  And those can be difficult to serge once they are sewn, even with 5/8" seams.

This dress is definitely one of the most comfortable ones I have made to date, and the main reason for that is the ties!!!  Oh, how I love ties!!!  No adjusting, no wondering if your belt is in *just* the right place.  I think I need to put ties on all of my dresses from now on.  It wouldn't look out of place or anything, would it?!!?!!  ;)


The skirt is the niftiest thing, coming to an upward point in front, and a downward point in the back.  So much fun!!!

Incidentally, I did not even put a zipper in this dress.  Weird, right?  It slips on just fine without one, so I thought I'd skip it rather than wrangling with either a lapped zipper in a 3/8" seam (sort of impossible), or putting in a placket (not fun when you haven't done one in 1.8 years).  All it does is add to the comfort factor, so I'm all for it!


*fluffy bow*

If it weren't for my mom, all of the bows on my dresses would be the sorriest-looking things.  Thanks, Mom.  ;)


I had a period of deep dislike for this dress (uh, that happens a little too often sometimes?!) when I attached the sleeves that I originally planned for it.  I was planning on making the big puffy sleeves, but gathering them onto a band rather than with elastic.  Well, I basted them onto the dress, and it looked perfectly dreadful.  Sort of like a baby dress at 10x magnification.  :|  The armholes were also terribly small.  So it got tossed in the UFO pile for a little while, until I finally decided to cut new slender sleeves (and re-cut the armholes!) from a 1940s pattern.  They just barely squeezed out of the old sleeve pieces (I had ZERO extra fabric!), but they did, and I finally sewed them on last week.  I like the very simple, shorter sleeves *so* much better than long, full ones.

Instead of a bias or small neckline facing, I did really huge facings on the neckline, so that they would end up below the strangely-low neckline of my slip.

Overall, I love my fluffy little dress, and can't wait to wear it again and again!  :)
Thanks so much for stopping by, and have a lovely week!!
Follow Me on Pinterest