Showing posts with label DIY. Show all posts

Tuesday, January 9, 2024

• Coming Back To The Blog •


 Greetings, after such a long time!!  If you’re still around and reading this, let me start off with saying “thank you!”  It’s been a long time, between the whirlwind of marriage, having kids, and running a home.  The shifts in the online community have greatly affected my dedication to this space as well, where it feels like blogging is a thing of the past, falling in the shadow of the constant blur that is social media.  But my husband and I are implementing some changes in our home around less screen time (to prevent the constant display of less-than-wholesome content in our kids’ faces), and with that I will be stepping away from Instagram very soon, and stepping back into more blogging again!


In September of 2022, I reopened my vintage Etsy shop, Northern Shore Vintage, with the original intention of selling handmade antique quilt coats, antique quilts, and vintage clothing.  That soon morphed into selling a broader range of antique home decor and the like, and I was excited and motivated to build my Instagram following and have a successful Instagram business and Etsy shop.  All of that was, and still is, a great thing to aspire to, however the realities of raising children (of any age, but especially these first years) make it impossible to devote the level of time necessary to grow my Instagram business in a successful manner.  I love the idea of having my little business, but I also love my children, my husband, and my home, and I cannot and will not sacrifice being present with and invested in them to grow a business, which falls outside of my true calling - that of a wife and mama.  


All that being said, I have no plans to stop selling antiques, making quilt coats, vests, etc, but by stepping away from Instagram, it will remove that constant pressure of "I really should be making a reel right now," or knowing in the back of my mind that it’s been sooo many days since I last posted.  I don’t need or want that type of pressure in my life!  I’ll continue to source lovely antique finds that make me happy, list them on Etsy where I find the time or inclination, and thereby serve both my little hobby that I love, as well as my family that I’m so beyond blessed to have!!  


Another huge reason I found to step away from Instagram entirely, is the way that it breeds constant comparison, dissatisfaction, and “lust” (as in the desire of products/items/neat things that you do not need, but now want because you’ve seen them!).  And can we talk about the waste of time and productivity?  I know it will be a huge adjustment, but I’m so ready to make this move and be more present with my babies, have more time for the needed housework, as well as sewing and crafting - the hobbies that I’ve always loved.  


So!  If you’ve made it through all of that, once again I am thankful!!  :)  I hope each one of you is well, and that the new year has you excited for the ways in which you can better yourself, your home, and your environment!  New Years’ resolutions are not my jam, but I am excited to embrace life changes that will positively impact our family for years to come.


Another change we’ve recently implemented was to move to low-tox products in our home.  We struggled with sickness for months this fall and early winter, and between that and hormonal issues ever since having our second, I was at my wits' end to find a solution.  I always resisted the idea of “going low-tox” in the past; I enjoy a natural remedy, I enjoy gardening a bit, but in my heart I really just want to microwave some mac ‘n’ cheese, light a candle, and eat Oreos.  I have no desire to be a homesteader, a low-tox mama, or any of those stereotypes!!  That being said, once I started to really look into some specific products (I had recently started using a wax burner with scented wax melts every single day, something I’d never done before, and was having new and relentless symptoms), I couldn’t ignore the facts about how truly, literally toxic these products are!  So we’ve switched the majority of our products in our home to better choices, and without much more cost than the previous toxic products that we were accustomed to using. 


I’m still using bleach when washing my towels, and as needed for other things around the house (quite infrequent for the latter application), toilet cleaner, and ammonia for the occasional super-deep cleaning of the bathroom and washing floors.  But we’ve switched out shampoos, soaps, lotions, hair products, cleaners, and laundry products and with good results! 


If anyone is interested, here are the low-tox items we’ve started using.  Click the photo to view each item on Amazon.  (These are affiliate links, and I receive a very small compensation if a purchase is made using them)

Laundry soap:                            


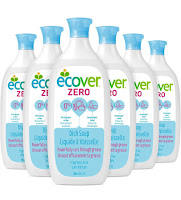
Dish soap:


Shampoo/body wash (for the whole family!): 


Deodorant:


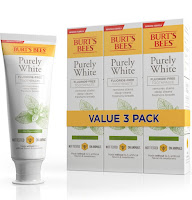
Toothpaste (adults):


Toothpaste (training):


Hair pomade (guys):


Lip balm:


Baby lotion:


Clove, lemon, cinnamon, eucalyptus and rosemary essential oils to make this DIY Thieves Cleaner

This Castile soap concentrate to make foaming hand soap (simply dilute approximately 6 parts water to 1 part Castile soap in a foaming soap dispenser such as these)


I’m still on the hunt for low-tox makeup (something that provides decent coverage without clogging pores or breaking the bank!), and a few other products like face cream and hairspray.  But we have already seen huge improvements in our health and the look/feel of our skin, just since making the switch a short time ago.  So if you’re on the fence about whether to switch or not, I would highly encourage you to give it a try!  Start small, and start with products that have the biggest impact (such as lotion, dish soap, laundry products that are on your skin or breathed in frequently).  


Let me know in the comments if you have any questions, and let me know also what you’ve been up to!  I’ve missed you all, and look forward to coming back to this platform and the simple, slow, much more enjoyable environment that it provides!  


Have a blessed week!  ❤️ 

Esther


Follow Me on Pinterest

Saturday, April 5, 2014

DIY Baby Gift Set

~~~~~~~~~~~~~~~~~~
The last baby project of the week! Actually, this is pretty much just a combination of all of the projects, wrapped up in a nice little bundle. 


Then, make a DIY Bib.....


And lastly, a Crocheted Baby Headband (if it's a girl).....

Or a DIY Pacifier Clip (courtesy of The Chronicles of Ruthie Hart). 
I had never made a pacifier clip before, but her tutorial made it very easy! I used a Riley Blake chevron cotton (a scrap, incidentally), and it worked great.

Fold it up, tie on a ribbon, and you've got a cute gift for a boy.....

or a girl!

(or twins)

Thanks for stopping by!! Come back soon for some great projects! I have plenty of them in the works, including another vintage dress!
 Subscribe by email to have new posts sent directly to your inbox, or follow this blog on Bloglovin'.
Visit the blog live to leave a comment.
~~~~~~


Follow Me on Pinterest

Friday, March 14, 2014

DIY Ruffle Tote


~~~~~~~~~~~~~~
Remember my first ruffle tote? Well, I made another one! Only this one, (in my humble opinion), is TEN times more beautiful! Being as I am a classical music lover, I am in love with this tote. I couldn't be happier with how it turned out. It's just SO pretty!
Okay, now that I'm done patting myself on the back, let's look at some pictures!

Front side


The top ruffle. I serged the edges using only one needle instead of two, and I used a tan thread to match. It looks so perfect, and works better than just zig-zagging the edges like I did in my other tote.
I removed the basting stitches from the top ruffle, but left them in the others. After all, they don't show, right?

Fabric flowers. I detest making these things, because it's just such a pain to try to make them look right, but it's worth every minute of it. They add the perfect finishing touch to this tote. I followed this tutorial to make them, except I sewed them together instead of just gluing them. I just safety-pinned them on so they can be removed for washing. (That's my pretty excuse for not wanting to try to sew them onto the bag....clever huh?)

Inside view

The ruffles end [peacefully] at the sides....they're actually pieced on the other side, but it doesn't show at all due to the ruffling.


Underneath view of the ruffles


Back side. It's just as pretty as the front!

And here's both of them having a ruffle tote bag reunion. I made the ruffles go further up on the new tote, and I really like the effect! 
Thanks for stopping by to check out my new tote! I'd love to have you check out my Vintage Dress Sew-Along.
Follow my blog on Bloglovin, or enter your email address above on the right to have new posts delivered straight to your inbox.
Visit the blog live to leave a comment.
~~~~~~~~~~~~~~~~~~


Follow Me on Pinterest

Wednesday, February 26, 2014

DIY Spring Wreath


~~~~~~~~~~~~~~~~~~~
I love wreaths...they make everything pretty even when it's 6 degrees out. So, I especially love this new spring wreath I just made! I wanted it to have a definite spring look, so I chose a pussy willow branch, some baby's breath and a peony. It's definitely a simple wreath, but I think that just makes it more aauthentically spring-y.
Flowers: Walmart, $2 and $3
Wreath: Walmart, $4.50
Letter: Meijer, $3
FYI: I got the supplies at Walmart because it is the only craft store in my area...I usually try to avoid it at all costs due to an overall lack of quality.
~~~~~~~~~~~

~~~~~~~~~~~
And, coming very soon is this.....


...just as soon as I finish the hem and take pictures.
Thanks for visiting! Click the link above on the right to follow on Bloglovin', or enter your email to have new posts delivered straight to your inbox.


Follow Me on Pinterest

Wednesday, January 22, 2014

Valentine's Day Banner


This isn't even a tutorial because, well, the picture shows us all we need to know. I saw some really cute ideas on Pinterest, so I incorporated those ideas and came up with my little banner. The little "flags" are 3 1/2" wide by 4" tall. I made my own template, and yes, I AM proud of myself, since my talent with paper and scissors is non-existant. The paper is from a little square pack of scrapbook paper from Meijer, and the hearts are just construction paper. Easy? Definitely. I really like the look though - it's valentine-y without being all crazy red and pink. 
Meanwhile, I'm still racking my brain trying to come up with a Valentine's wreath. 


Thanks for stopping! Come back soon for some tutorials.


Follow Me on Pinterest

Saturday, December 14, 2013

DIY Christmas Wreath

Whoops. It's been way too long since I've posted anything! With Thanksgiving and Christmas, I've hardly had time for any crafts! 
I'm afraid this tutorial is going to be more word-y than picture-y, since I just sat down and made it without taking ANY pictures whatsoever. It is very easy though.
You will need: 
ribbon (mine was sorta burlap-y, but decorative; Walmart)
3 sprigs of decorative pine floral decorations (Walmart)
2 sparkly ornaments (bells and that spiky thing; Walmart)
Snowshoe ornament and bells with bow (Meijer)
wreath form
pins
~~~~~~~~~~~~~~~
Wrap the ribbon around the wreath form. Don't wrap it too close together or you will end up with not enough ribbon. When you reach the beginning, pin in place with regular sewing pins. Next, pin on your bells. Mine have a bow attached, along with a little twine hanger. I pinned it on in several places so it can be hung by that piece of twine. Next, insert the decorative florals into the gaps between the ribbon. It's a little bit tricky, but you can do it! Then, pin on your sparkly ornaments and your snowshoes, and you're done! It's very simple, but I like it. And of course, you can do as many or as few ornaments on it as you want.
~~~~~~~~~~~~~~
I will be posting regularly again, I promise!! I apologize for the delays.
 Thanks so much for stopping by!


Follow Me on Pinterest

Monday, November 4, 2013

DIY Chalkboard Glass


After seeing the awesome chalkboard projects on Pinterest and wanting (soooooo bad) the cute glasses at Pier 1, I decided I would make some! This is such an easy project -I can't wait to make some more glasses and maybe a pitcher.
~~~~~~~~
You will need:
Glass(es)
Chalkboard paint (walmart or anywhere)
Painter's tape
Newspaper
~~~~~~~~
To begin:
Tape around whatever shape you want to make. Then tape newspaper on the rest of the glass so that it is completely covered. We don't want paint in the wrong places! It's going to look somewhat like something you would wear in a chemistry lab. Why not, right? The next step is to give the open area a nice coat of paint. Spray evenly, about 3-5 inches away from the glass. (do it outside, of course!!)
Let it dry until it is no longer shiny. (20 minutes or so?) Repeat the process 2 more times, so that you have a nice durable surface. Remove the tape and newspaper when the last coat is no longer shiny. Let dry 24 hours. Before using, with the side of your chalk, completely cover the chalkboard surface with it. This "primes" the surface for use. You are done! I would recommend getting a chalkboard pen, because regular chalk tends to "melt" off when the beverage is cool.


~~~~~~~~~~~~


Follow Me on Pinterest

Tuesday, October 29, 2013

DIY Lavender Sachets

Lavender is often used to keep moths away, so sachets with lavender inside are particularly useful! You can make them in any shapes or sizes, hang them from hangers, throw them in boxes or drawers, or just set them out so they can look and smell pretty. Overall, I'd say they are pretty versatile. Here's a super-simple how-to:
Cut lavender flowers (preferably while they are in bloom) and place them in a sack/basket/whatever you have.

Push the flowers off of the stems.

Pick out the pieces of stem that fall into the pile.

Spread the flowers out on newspaper to dry. Mine were actually already dry, so I didn't really let them sit, but if you do it when they are blooming, you definitely need to let them sit for several days.

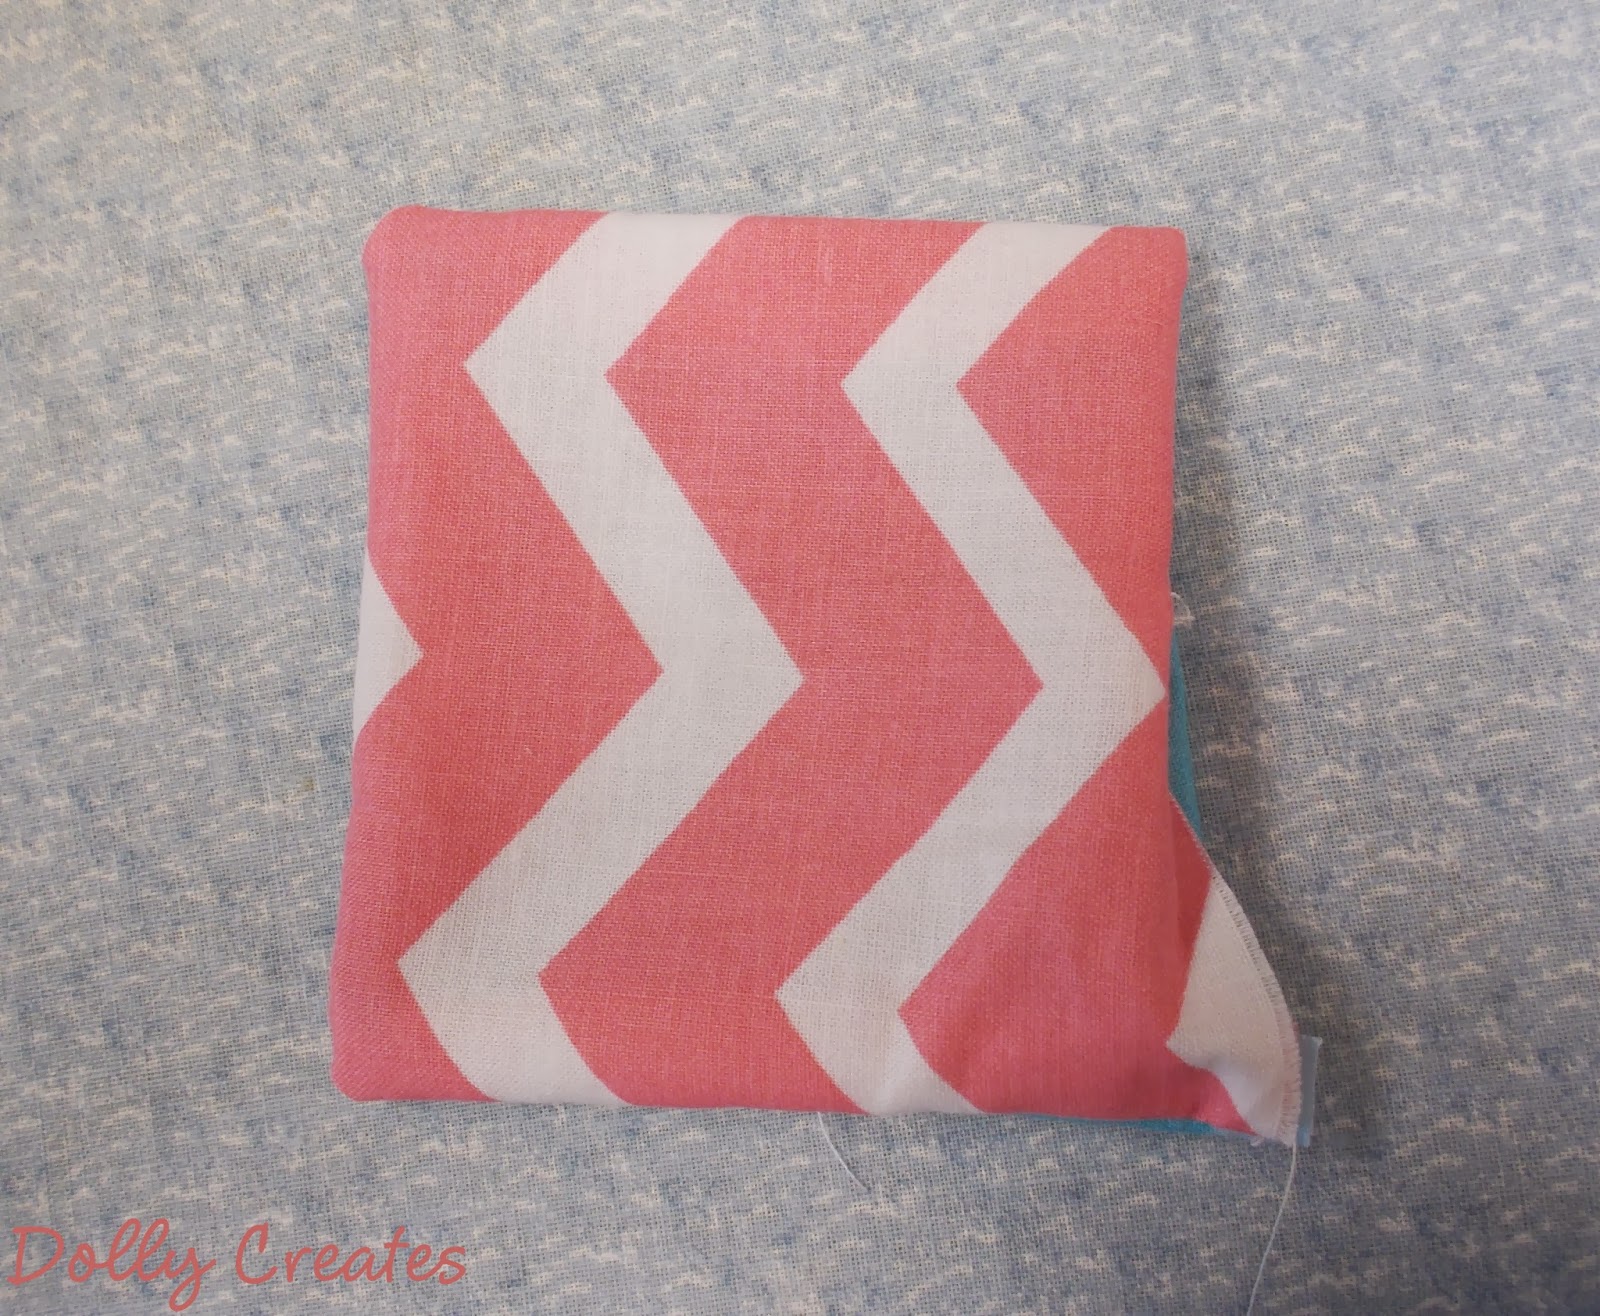
Cut two pieces of fabric, about 4x4"

Sew all of the way around, leaving a 1 1/2" gap on one side.

Snip the corners and press the fabric.

Turn right side out, using a ruler to push out the corners.

Fill with lavender. Since I waited SO long to pick it, there was hardly any on the plants, so this sachet ended up being sadly empty, but so be it. It still smells might lavender-y.

Fold the raw edges in and sew the edge. Tie ends and pull through with a needle. You're done!

Pink side

Blue side

Put the sachet in a box or drawer with clothes, fabrics, hats, or whatever you want to keep the moths away from. Or, make several, tie them with a ribbon and put them in a place of distinction to give your room a slight lavender smell. Enjoy!
~~~~~~~~~~~~~~~~~~~~~~~~


Follow Me on Pinterest