Wednesday, October 26, 2016

• Chocolate Bonbon 1950s Dress •


So sorry for the unannounced absence!!  Life can get pretty busy at times, and, well, a lack of photographs can be rather preventative to blogging as well.  ;)

This dress is one I made early this year for our southern vacation, but the only picture we took of it was this one:


:P

We always have these grand plans when we go on vacation; we make new, fun outfits, and we figure on taking the most wonderful pictures in the most wonderful locations while we're there.  Instead, we get a minimal amount of coat-covered, messy-haired, typical vacation photos.  Which is fine, but not quite what one needs for blogging.  But that's just the way it goes.  ;)


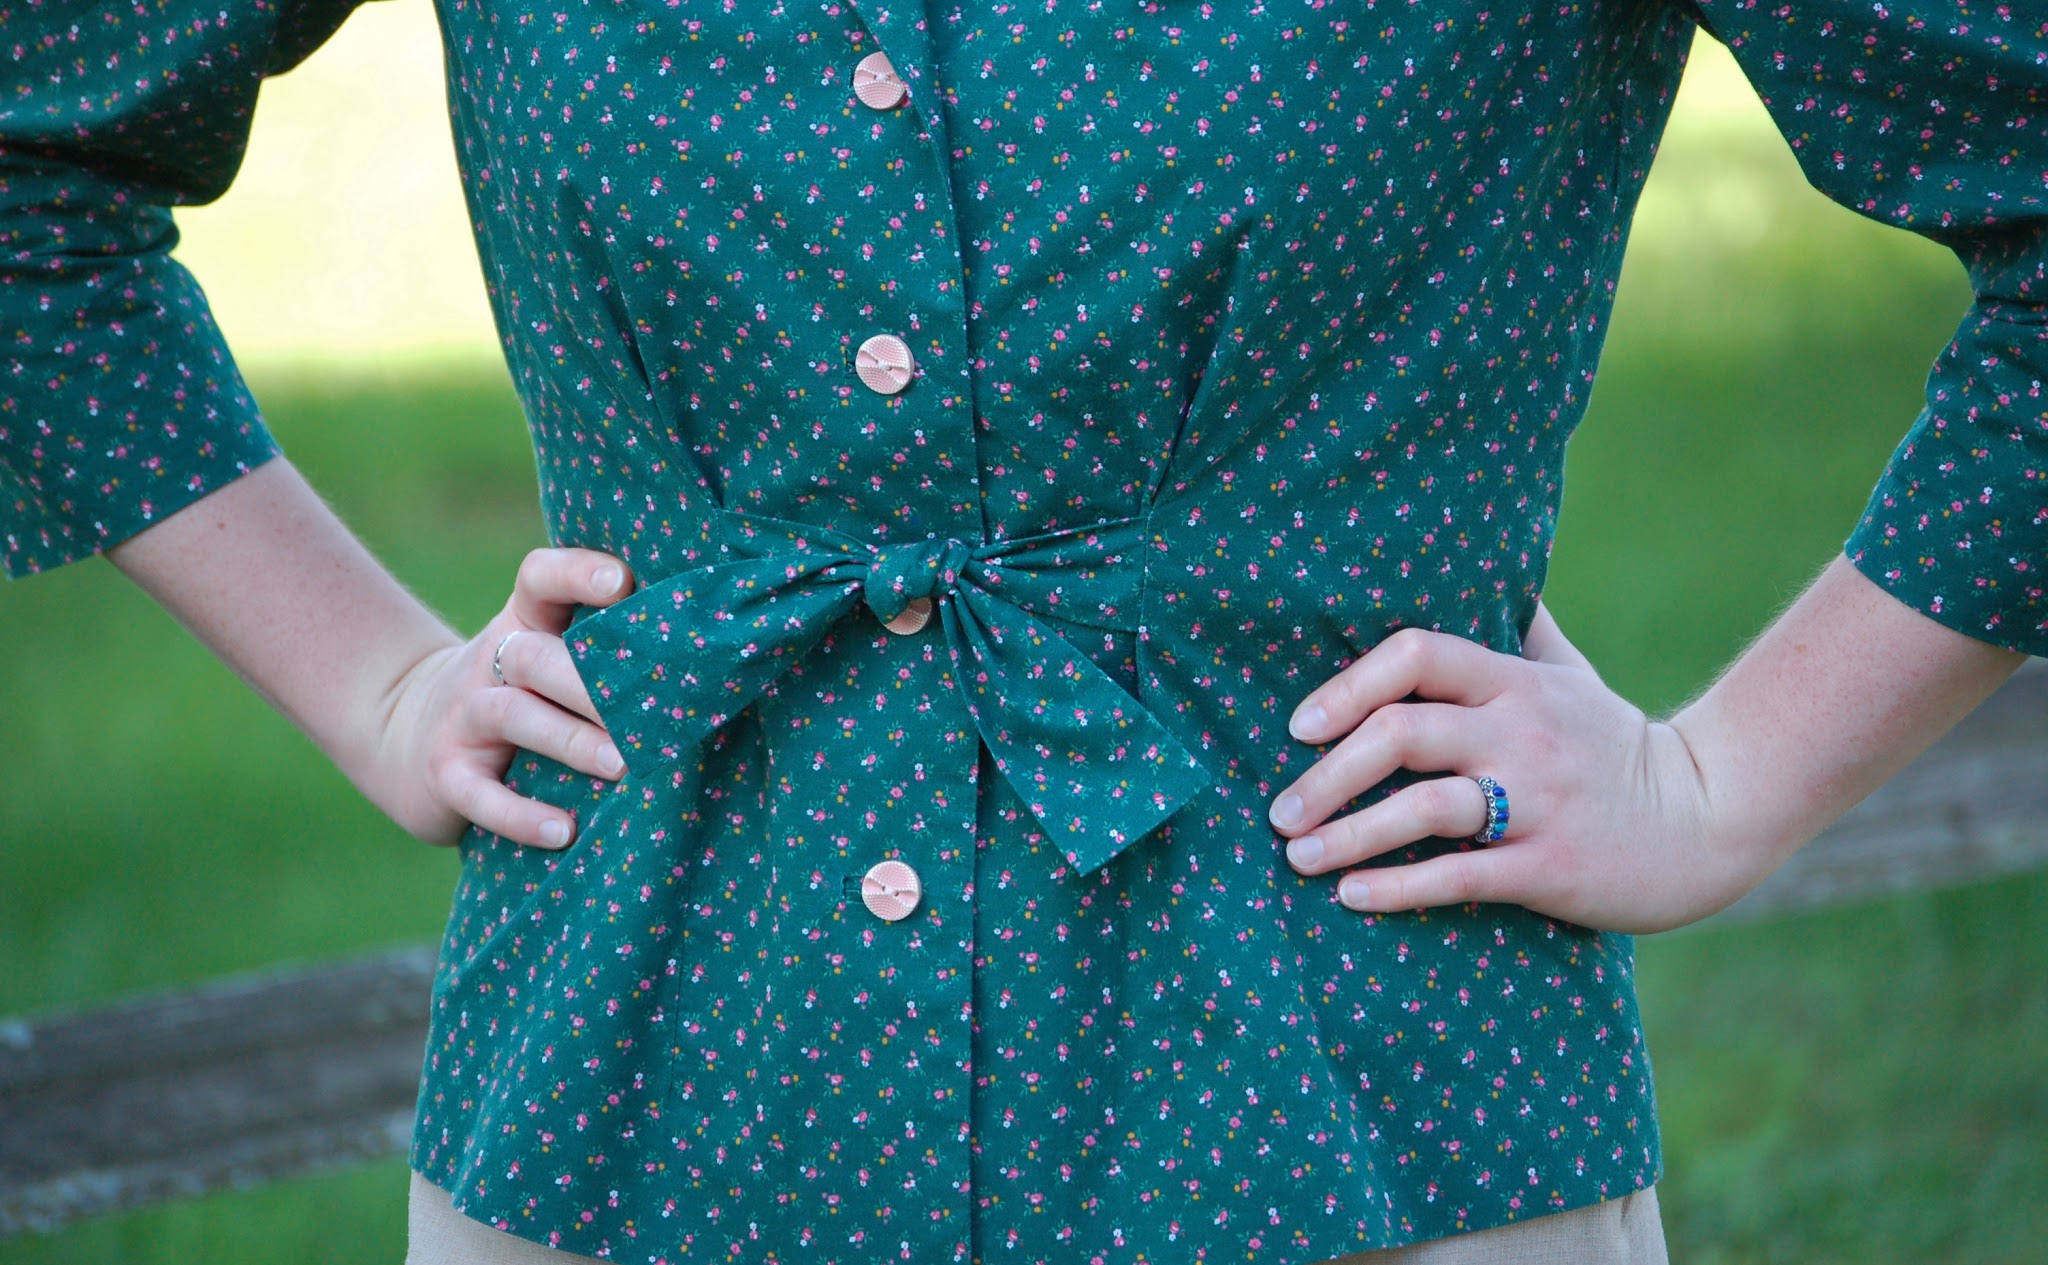
I purchased this fabric at Hancock Fabrics (boohoo!!!) a couple of years ago on the clearance rack for only a dollar or two per yard.  There was only 3.125 yards, so I was very limited in what I could do with it.  I always wanted to make a 1950s s'more-themed dress, with graham-cracker-shaped buttons, but no such buttons were found to exist, sadly.  :(  In the pursuit for The Perfect Buttons, my mom offered me these *gorgeous* pink ones, which proved to be just the right accent!

Somehow the combination of the brown polka dots with the pink accents reminded us very much of chocolate bonbons, hence the name.  ;) 


I'm amazed the dress squeezed into that small of an amount of fabric, but it did, albeit without enough leftover to make a bound buttonhole (only a very slight exaggeration).  I even managed to eke out a 2" hem!!  The skirt is made of two widths of fabric, so it is approximately 90" around.  Just enough to accommodate a petticoat and give that '50s silhouette!  :)


As for the design, I took a page from Lily's book and made a front-closing bodice with an underlap, like her fruit and lemon dresses.  I used the collar area from Butterick 6055 and my basic bodice sloper for the rest of the bodice pattern, varying things here and there to suit.  For the front opening, I simply left the center front seam open and faced it, sewing an underlap piece into the left seam.  The buttons were then sewn onto that underlap piece.  Since the neckline was a bit low, I pinned in a small modesty panel. 

 I ended up miscalculating the front shoulder width, due to having forgotten about the front shoulder dart, but somehow it came out perfectly nonetheless!  I should make mistakes like this more often; they make my sleeves fit even better!  ;) 


I managed to match the dots up on the front bodice, and placed the buttons smack-dab on top of them.  ;D  


These poor sleeves met with a near-death experience; I wanted that ricrac slit detail on my sleeves, but since they were not kimono sleeves, it was not so easy to do.  First I tried sewing the ricrac into the seam with the facing, clipped and trimmed the seam to within an inch of its life, only to turn it and find out that the ricrac had gotten sewn into every place except where it was supposed to be.  What happened next was this:


.....along with a lot of thoughts as to how to make this dress look decent as a sleeveless one.  But after a day or so of brooding, I finally decided to tackle it and see if it could be redeemed.  Thankfully, it could and did.  I ended up sewing the ricrac on after the facing seam was sewn and turned.


So all in all, it was a fun dress to make, despite a few hiccups along the way.  And it is such a fun (and comfortable, yay!!) dress to wear, I might just have to try another rendition someday!  :)  

Have a lovely week, and enjoy the gorgeous fall season!

~

If you haven't done so, do check out my Etsy shop for a new listing or two!  I recently added an adorable ruffled tote bag, featuring the cutest novelty print.  See the listing here.
Follow Me on Pinterest

Wednesday, October 5, 2016

• 1860s Underpinnings •


I must admit to being rather excited about today's post.  All of these fluffy white and pink things make my heart happy!!!  ;D

Since I acquired some new underpinnings semi-recently, I wanted to do a post showing the basics that I wear under my 1860s dresses. 


Starting with Layer #1, we have the drawers!  These were so fun and easy to make, and, well, quite funny too.  ;D  I used Simplicity 9769, just lengthening them by about 70 inches or so.  (Only a slight exaggeration.)


I had always been one for making the most boring, plain, blank-slate underpinnings.  No contrasts.  No lace.  No tucks.  Just make the thing in the quickest and easiest way possible so you can wear it.  Sarah, on the other hand, makes the prettiest things.  Long story short, she finally convinced me that it is actually worth it to take a little more time and effort and make pretty, frilly things.  And she is so right.  :)  Thanks for persuading me, Sarah!!!!!!!

I didn't have any wide lace for the legs of the drawers, so I opted for tucks, ruching, and narrower lace trim, inspired by this pair of original 1860s drawers.  I like the result, although obviously my tucks and such are bigger than the originals.  The main fabric is muslin.


Layer #2 features my favorite piece of the whole ensemble: my new chemise that Sarah made for me!!  She was the sweetest and offered to whip me one up, which she did.  :)  Until now I wore my regency chemise with everything, but now I have a pretty, period-correct one to wear.  Thank you, Sarah!!  <3


This was also made from Simplicity 9769, out of fine, soft muslin, with quite a few alterations.  In short, the body is cut 5 sizes smaller than what I would normally wear, the yoke and shoulders 4 sizes smaller, and the body of the chemise lengthened about 70 inches, once again (that's almost for real in this case!).  Instead of the terribly constricting sleeves that came with the pattern (even when cut in the normal size!), she added gorgeous eyelet lace instead.  I love it that way!!  :)


The chemise is supposed to be an off-the-shoulder style, in order to accomodate a ball gown, but even for that style, the pattern is made very strangely.  When cut 4 sizes smaller, the yoke fit as it was supposed to - just grazing the shoulders.  If it was cut in the "correct" size, it would be falling right off.  Weird?!

In any case, since I don't plan on making any off-the-shoulder ball gowns any time soon (as in never!), a tuck was taken in the back, and the front was overlapped about 1-1/4" extra, so that it fit comfortably without falling off the shoulders.


Layer #3?  Corset!!  Made from Simplicity 9769 (I guess you could say we like that pattern!), it is made of quilting cotton and lined with tightly-woven pillow ticking.  After making a mockup, I found I needed to make it 3 sizes smaller than my standard size, and that worked just right.  Thelma Lou (our beloved dressform) has a totally different body shape than I do, and she's also a bit stiffer than I (haha!), so the stays don't fit her very well, but on me they lace up quite perfectly.  I almost want to make another pair, just for how fun and pretty they are!!  :)


I used straight steel boning, and omitted the center front busk (I know, weird), so it slips on easily over the head.  The eyelets in back are all hand-sewn.

I would love to try another corset pattern just for fun someday, to see how much waist reduction is actually possible.  But with this one I can get 2" reduction, max.  It is quite comfortable, although after a whole day of wearing it (especially with riding in the car), I get a very sore right hip.  It is still very comfortable, however, and I would highly recommend the pattern.


Now for Layer #4 - another top favorite!  :) 
I was planning a sheer Civil War dress earlier this year, and so needed a corset cover to wear beneath it.  I surprised everyone (including myself!) and bought two different laces to use on it; one intricate leaf-patterned cotton eyelet, and a very delicate cotton lace trim for edging.  The main fabric is cotton batiste.

Although there are many frillier ones out there than mine, I still just love it!


Inspired by this original corset cover, I made two tucked panels, sewed lace in between and on each edge of them, then sewed pieces of flat batiste on each side of that.  Once that was done, I cut out the actual shape of the corset cover.  I used the lining pieces from Butterick 5831 for the basic shape, altering it here and there as needed.  

Since the waistband needed to be fitted, I had to take two large darts on each side, and add a few gathers on each side of them.  It might be a little bit unorthodox, but it worked!


(Inside view)

All of the seams inside the corset cover are finished, and there isn't one stitch of serging!!!  I'm proud of myself!!!  ;)

I turned the seams next to the lace insets over themselves (sort of a flat-felled seam) and slip-stitched them in place invisibly.  The shoulder seams are french seams, as are the sides.


Probably my favorite part of the whole corset cover - the super fun side opening!!!  :D  This is the type of thing that I always dread in projects, even though they are not actually hard at all.

Thelma Lou's waist was too large for the waistband to be able to hook-and-eye together, but on me, it closes well.  There is a hook and eye at the armhole as well, and snaps in between. 


Layer #5 - underpetticoat!  This is my favorite petticoat by far, all full of tucks and cords.  Once again, it pales in comparison to other petticoats from the 1860s, and others that contemporary seamstresses have made, but for my level of patience, I love it.  ;)

On top of all of these layers would of course be a hoop skirt/crinoline, and an over-petticoat.  I didn't get a picture of either of these, but you can visualize it easily enough. 

I hope you enjoyed seeing these garments!  :)  Thanks for stopping by!

Also - if you haven't stopped by my Dolly Creates Etsy shop lately, I just listed several new garments and an apron that are all perfect for fall.  Hop over to my shop and check them out!


Follow Me on Pinterest

Monday, September 26, 2016

• Introducing Northern Shore Vintage •


Something very exciting has been cooking in the background here for quite a while!!  :D  My dear friend Sarah and I have started an Etsy shop together, called Northern Shore Vintage, selling vintage clothing and accessories from the 1970s and earlier.  Since we both love vintage styles; the classic, beautiful, modest, incredibly stylish and timeless fashions of yesteryear, we decided to open up a shop together, selling just such items! 

We don't have a huge stock yet, admittedly, but we are both working hard on building it up.  Meanwhile, since it is our grand opening, we have a sale going on!!  Take $10 off your purchase of $50 or more with coupon code "OPENINGSALE", valid through Monday, October 3.  

Behind the name: Sarah and I both love the North Shore of Lake Superior; there's just nothing quite like it.  So when we were trying to come up with a name for our shop, we both thought of it simultaneously, and knew it was just the thing.  ;) 

Be sure to stop by the shop and check it out!!  I'll be posting updates about the shop from time to time, about new listings and sales, so stay tuned!  :)

Thanks for stopping by! 


Follow Me on Pinterest

Friday, September 23, 2016

1940s Separates • Two Old Beans-Style


Today (albeit a few days late!), I'm sharing one of my favorite outfits!!  :)  I've been wanting to get pictures of it for a long while now, and we finally got around to it this week. 

Since I make pretty much all of my clothes, it is always fun to shock someone with the statement that "No, I didn't make this!"  ;)  


This pretty little vintage 1940s blouse is one I got from Two Old Beans, when they were having an Instasale.  It was only $8 or so, and just needed a good soaking and hemming.  I would call that an amazing deal!!!

(Naturally, I had to pair my 1940s oxfords with this outfit, also from Two Old Beans)


Strangely, even though the blouse fits perfectly in the shoulders (hurrah!!!), it is quite short.  As a consequence, it had only four buttons, the last of which was the second from the bottom one that you see in the picture above.  The solution?  Make three more buttonholes and sew on new buttons!!  :)  It worked like a charm, and made it a very comfortable and practical-to-wear blouse. 


The pink piping on the center front and collar adds just enough accent to make it cute.  ;) 


Amazingly enough, this blouse has turned out to be just about my favorite garment that I own!!  I definitely am looking forward to replicating it.  It fits so well, and is *so* comfortable, which has been a must for me of late.  


I did make my jacket, and it is a definite favorite as well.  I actually made it way back in April or so, as a sort of wearable mockup for a future jacket I want to make (for my future WAVES ensemble).  You might recognize the fabric from my late 1940s dress.  Nicely enough, there was plenty enough fabric leftover from that to make a jacket! 


I used this pattern, Simplicity 4492, from the first half of the 1940s.  It is a very fun style, very comfortable, and a very easy-to-make pattern!  I actually made it start-to-finish, cutting to hemming, on a Saturday, intent on wearing it for church the next day.   It got done in plenty of time, so that kind of proves its ease of assembly!!  :)


The little tie-bow adds a fun touch, especially for a lighter weight fabric (something other than wool).  
The jacket has darts extending into tucks at the waist, as well as darts that come down from the shoulder seam in front.  The three-quarter-length sleeves have gathering at the elbows, as opposed to darts.


These buttons have to be in the Top Five category of my most favorite buttons ever.  :)  They almost look like wood, but they are in fact plastic.  And they came off of the loveliest vintage card - it's almost sad sometimes to have to take them off of the cards that they've been on for upwards of 70 years!


To my great joy, the collar was a cinch to make, just like the rest of the jacket.  And (favorite part!), it is not lined!!!!!  As you probably know, I'm always shirking having to line garments whenever possible, so to have it actually be legitimately okay to do makes me quite happy!!  ;)

~

Thanks for stopping by, and have a lovely weekend!!

Follow Me on Pinterest